Uploading IOS image with Cisco LMS
In this tutorial we’ll learn :
- How to push an IOS image into a switch flash disk, using Cisco LMS,
- How to verify that the IOS image has been loaded correctly
Pushing the IOS image
-
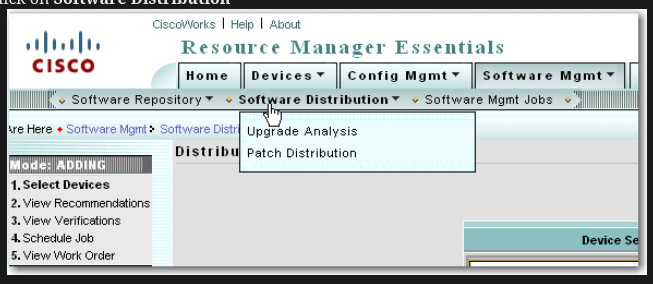
On the LMS home page, click on the Resource Manager Essentials link.
-
Click on Software Distribution
-
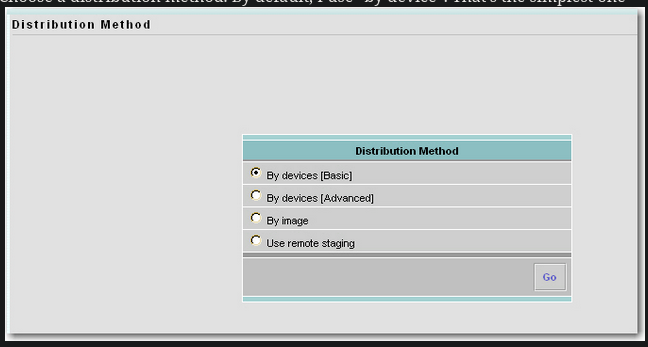
Choose a distribution method. By default, I use “by device”. That’s the simplest one
-
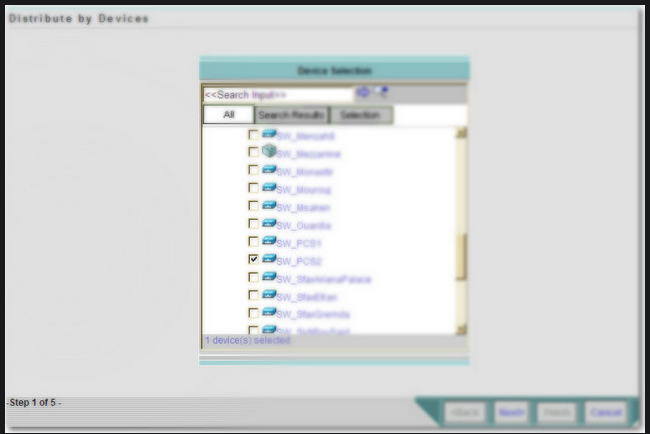
Check the device for which you want to upgrade the IOS and click Next
-
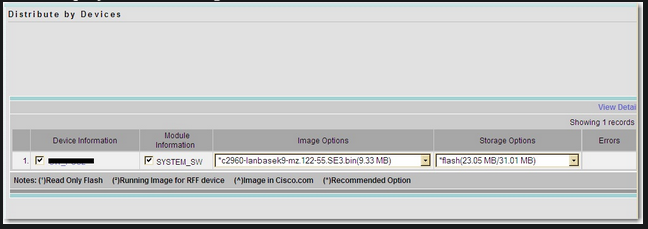
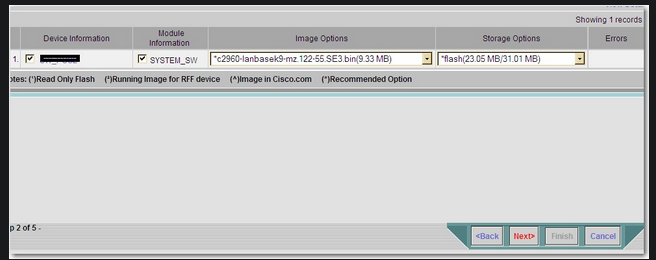
The Distribute by Devices windows opens. Under Image Options, select the desired IOS image. Note that an image prefixed by an asterisk means that it’s a Cisco-recommended one. The Storage Options shows you how much flash disk space you still have. Here, we want to deploy a 9.33MB image on a flash disk that has 23MB left out of 31MB.
-
Click Next
-
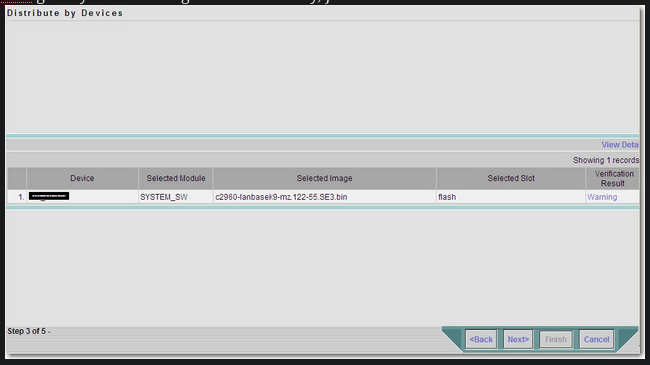
LMS gives you a warning. But don’t worry, just click Next
-
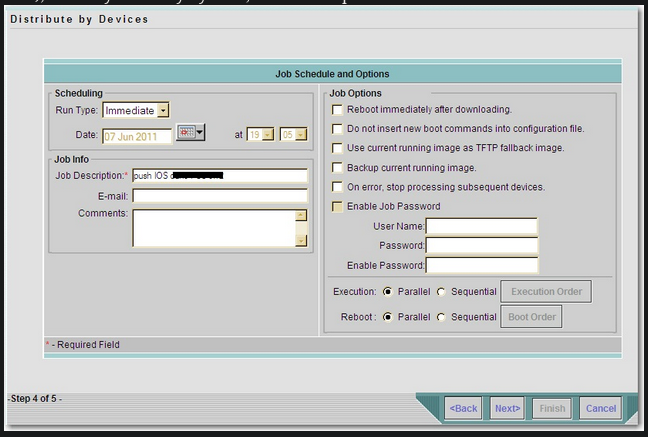
The Job Schedule and Options allows to schedule job runtime (now, later at a specified date..), to notify an entity by mail, and other options. Click Next
-
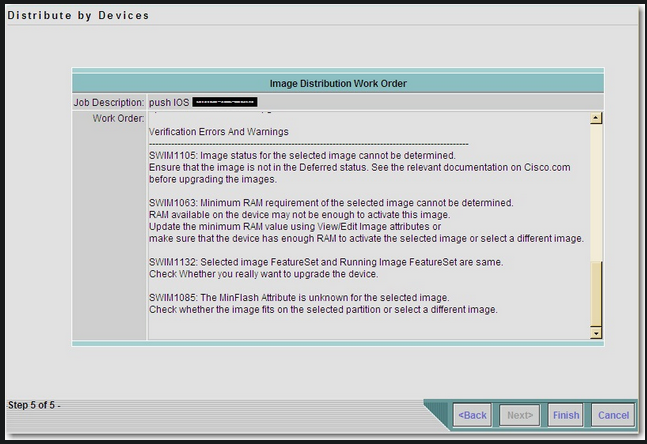
At this point, LMS is ready to launch the job. Read the work order (If you like) and click Finish.
-
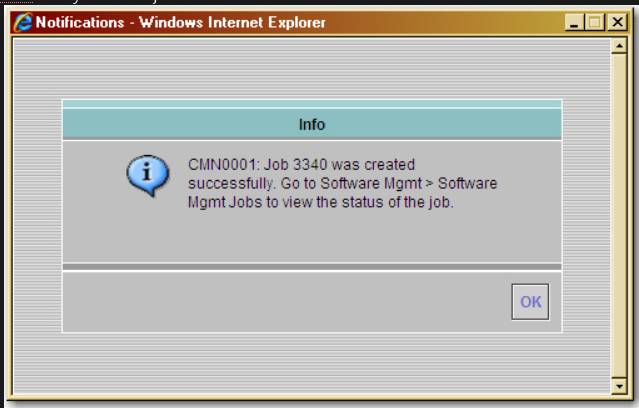
LMS tells you that a job is created. Click OK
Verifying that the new IOS image is being deployed
-
When you connect to the switch and do a “dir flash:”, you’ll notice that the available flash disk space is shrinking. That’s a sign that LMS Is currently deploying the new image to the switch

-
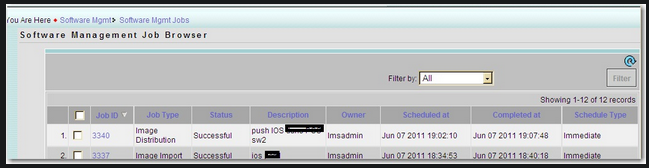
To verify whether LMS finished the job, go to Software Mgmt then Software Mgmt Jobs. Look for the job you’ve create. You should see “successful” under the Status column
-
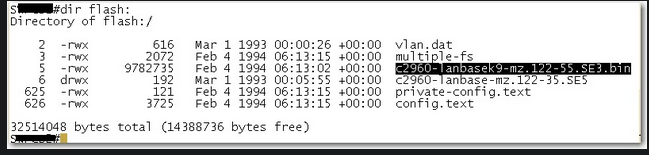
On the switch, do “dir flash:”, the new image is there
-
Don’t forget to change the boot file image. Otherwise, your switch will still boot on the old image.