Cisco CIMC
Table of Contents
Defining CIMC#
CIMC is the management interface of the server hardware that underlies the APIC software.
CIMC software != APIC software.
CIMC Console Connectivity#
Method 1: Connecting To The Serial Console Port Directly#
Connect your laptop to the console port of the APIC server (usually the RJ-45 port at the far right). Use baud rate of 115200 (or configure that as speed under the async interface, if you’re connecting to CIMC through terminal services)
Method 2: Connecting To The Serial Console Port Through Terminal Services#
Connect the APIC console port using an octal cable to a [[Individual Notes/Hardware#Terminal Services Gateways|terminal services gateway]]. There should be a special configuration on the TS gateway; this can easily be found on cisco.com. To remotely connect to the APIC console port, you need to telnet/ssh to the terminal services gateway using the specific port associated with the async port, where the APIC console port is physically attached.
CIMC Configuration Utility vs APIC Initialization Script#
- Once I am logged in to console port of APIC, I have two important keyboard combinations:
- ESCAPE+8 to launch the CIMC CLI configuration utility
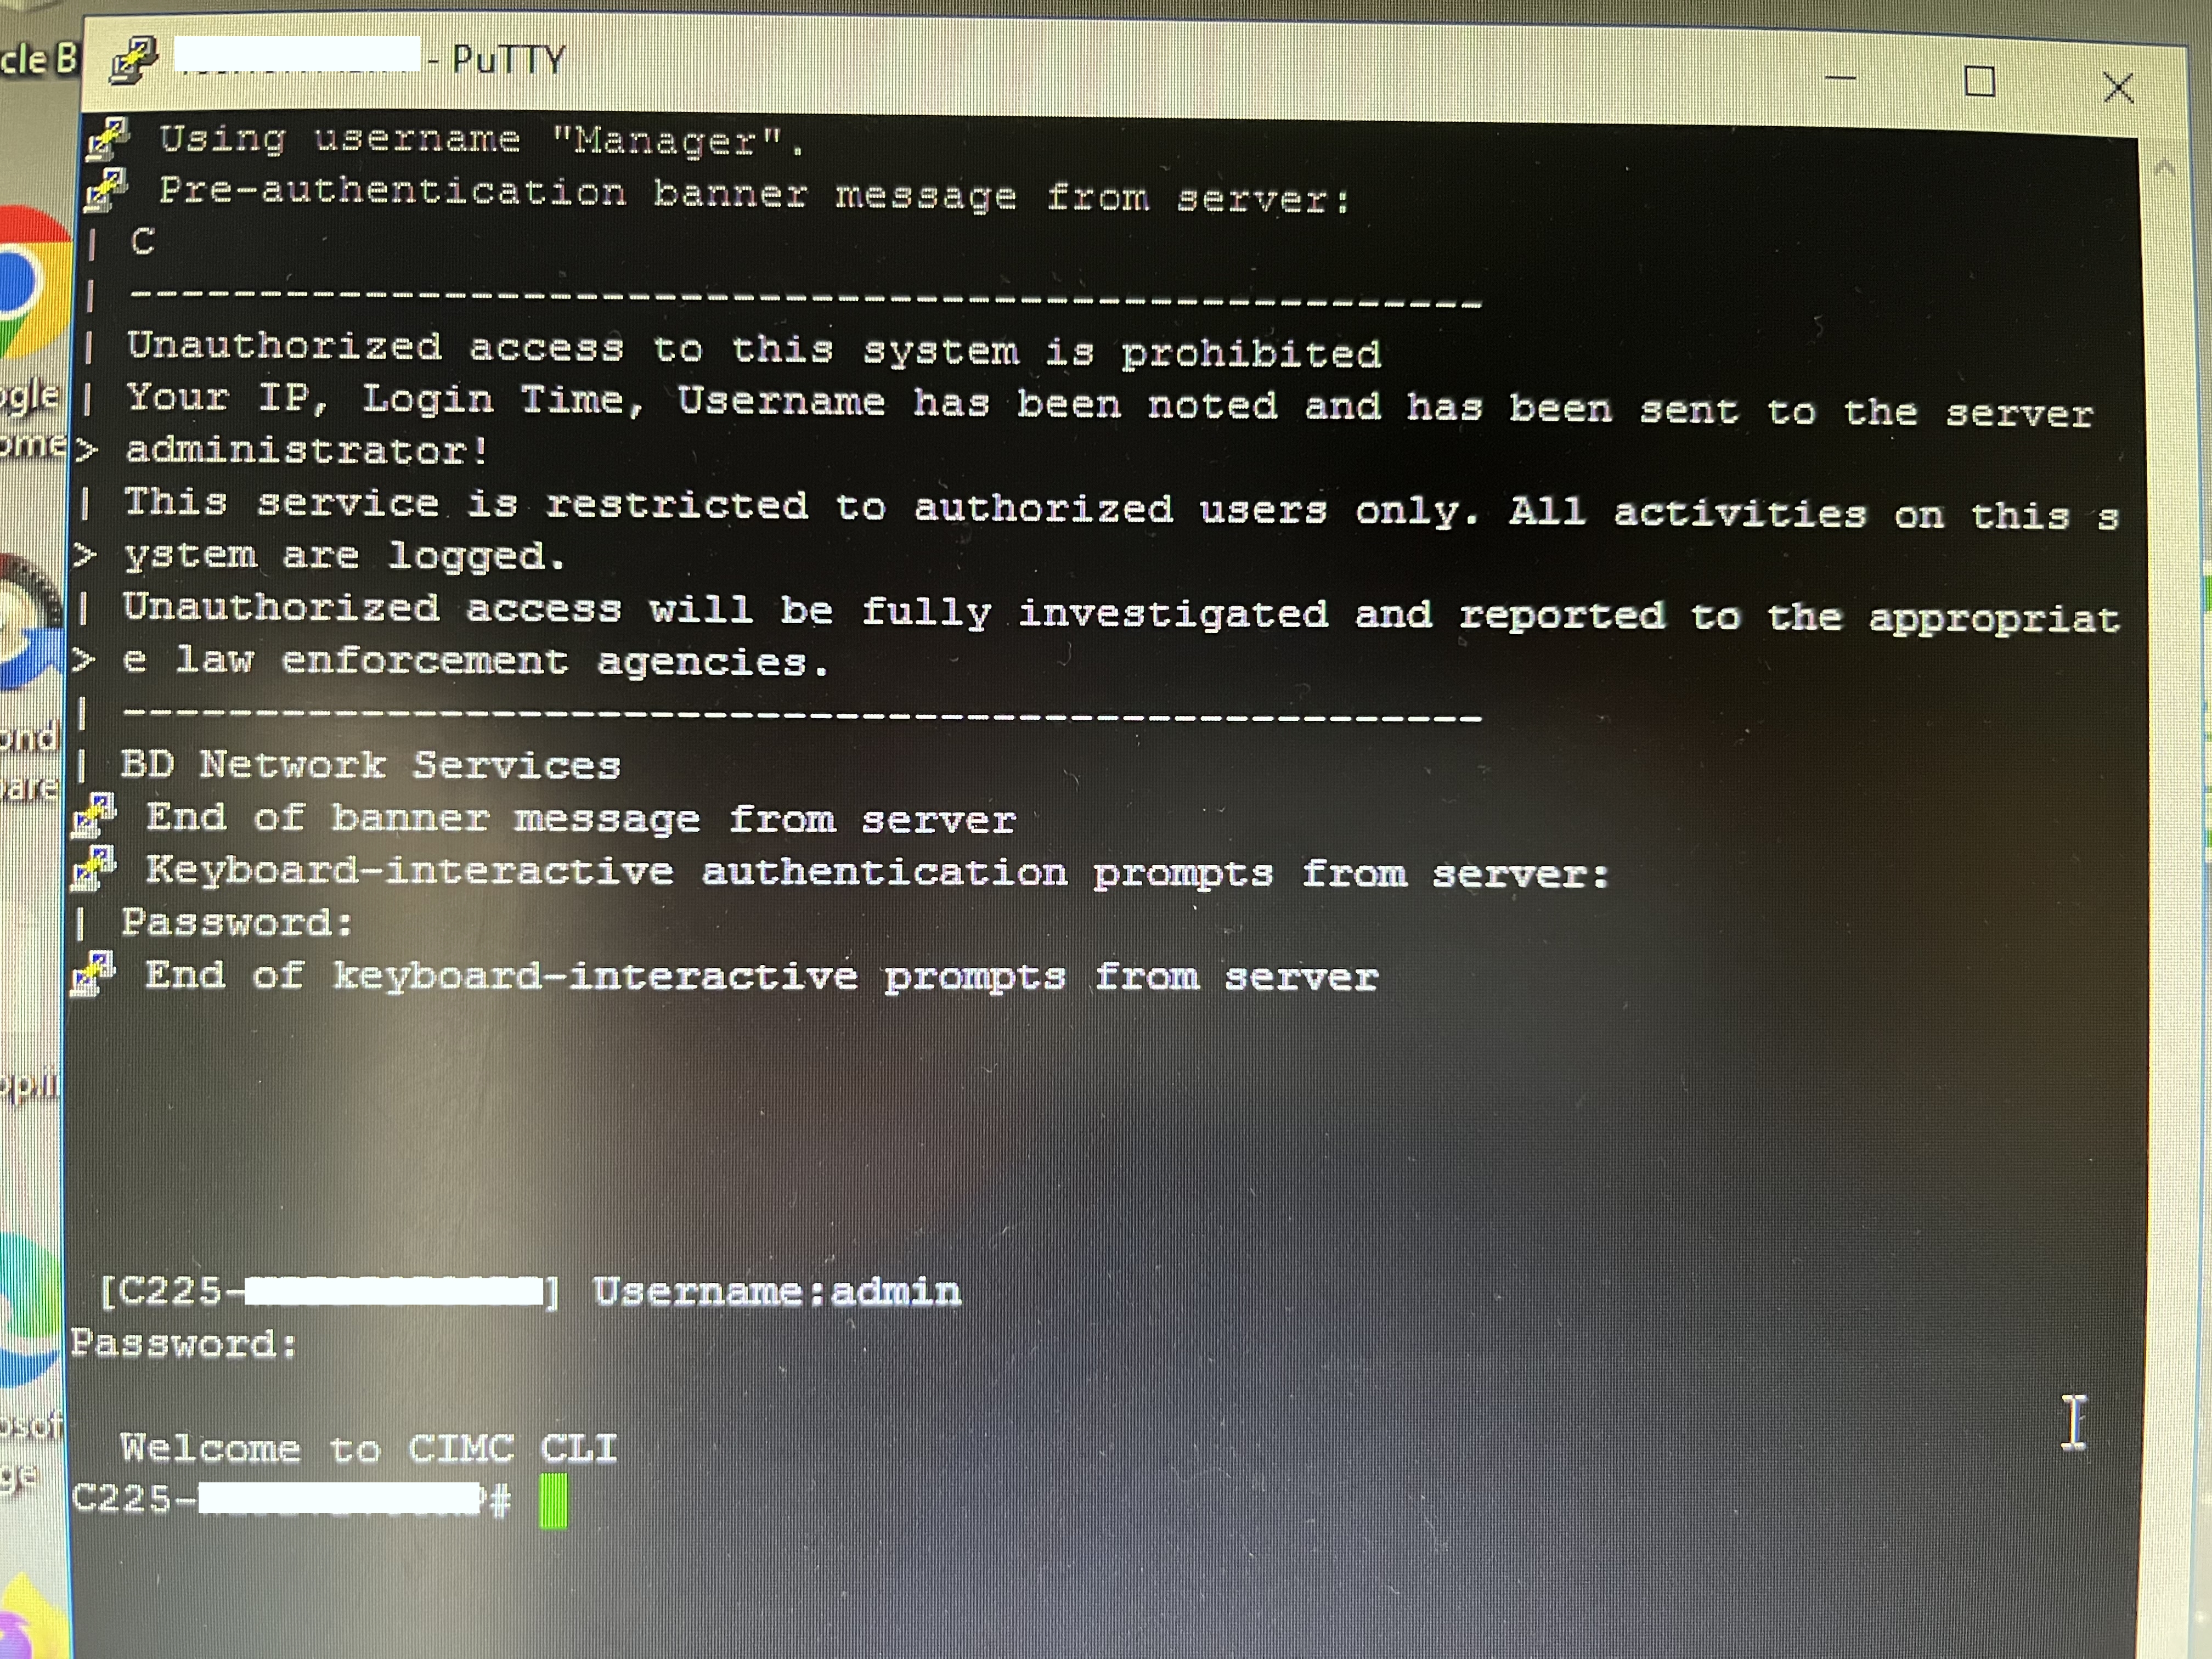 or
or - ESCAPE+9 to launch the APIC initialization script.
- ESCAPE+8 to launch the CIMC CLI configuration utility
The CIMC Configuration Utility is the embedded software that allows you to configure the CIMC itself.
Serial Over LAN (SoL)#
This feature allows to access the console channel from an SSH connection established over the CIMC management IP address. Thus the word “Serial over LAN”.
To verify the status of SoL, SSH into the CIMC management IP address and issue the scope sol command:
de-f6j-ah-dcn-apic2# scope sol
de-f6j-ah-dcn-apic2 /sol # show
Enabled Baud Rate(bps)  Com Port SOL SSH Port
------- --------------- -------- -------------
yes     115200          com0     2400
de-f6j-ah-dcn-apic2 /sol #
de-f6j-ah-dcn-apic2 /sol # exit
To enable SoL, we need to access the CIMC GUI (using the CIMC management IP address), go to Admin -> Communication Services, enable SSH, then connect per SSH to CIMC and enable SoL on the CIMC CLI: To enable SoL:
scope sol
  set enabled yes
  set baud-rate 115200
  commit
  exit
To gain SOL access using the CIMC interface:
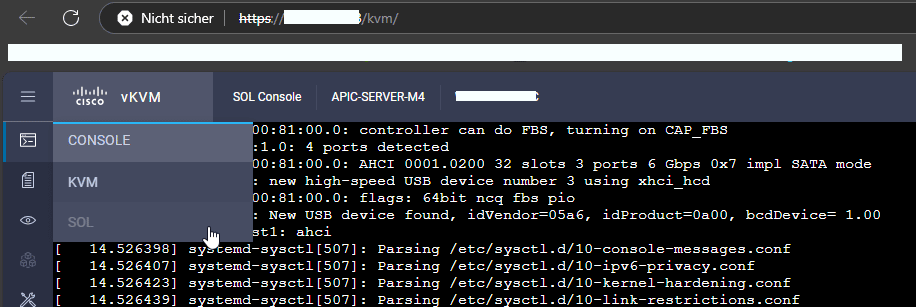
#verifyThis SoL is disabled by default. When SoL is enabled, we no longer need a cable plugged to the console port of the UCS server. To access the console channel of a UCS server, there are four methods:
- physical KVM cable,
- vKVM,
- SoL,
- console cable plugged in the console port of the UCS server and a terminal services router. Once SoL is enabled, the console port, both on the rear panel and the front panel, no longer work. Not to confuse the Out-of-Band management port with the CIMC port on the UCS server.
When SoL is enabled: to connect to the console channel of the underlying server, use the connect host command from the CIMC CLI:
de-f6j-ah-dcn-apic2 /sol #
de-f6j-ah-dcn-apic2 /sol # exit
de-f6j-ah-dcn-apic2# connect host
CISCO Serial Over LAN:
Press Ctrl+x to Exit the session

de-f6j-ah-dcn-apic2 login:
Accessing CIMC for the First Time#
Method 1: KVM#
Using a physical Keyboard, a physical Video device and a physical Mouse (KVM), all attached to the UCS server through a KVM cable:
UCS chassis
|— front-panel USB port –> KVM cable: USB keyboard, USB mouse, VGA monitor.
Reboot the server and press F8 when booting; you should enter the CIMC Configuration Utiliy. The default BIOS password is password. Configure the necessary settings:
- NIC mode: must be dedicated
- NIC Redundancy: must be set to None
- IPv4 address and default gateway
- optional:
- DHCP
- DNS
Method 2: Host Serial Connection#
You can connect a serial cable to the serial port of the UCS chassis (see [[ACI Fabric Concepts#APIC M3/L3]]) and use the Host Serial mode to configure CIMC.
Method 3: CIMC Management Port#
Using a web-UI connection on the CIMC layer-3 management port. The CIMC has a layer-3 port on the rear panel of the APIC server. It is called the CIMC management port. The CIMC management port is designated on the rear panel with the letter M.
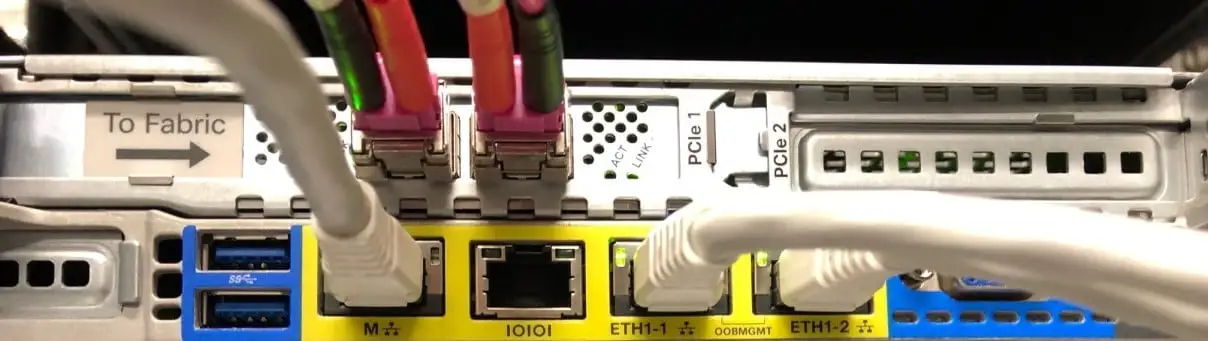
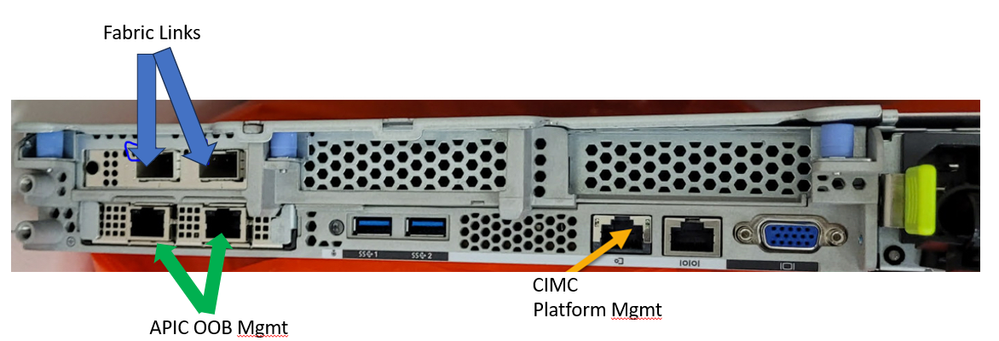 The CIMC management port runs by default a DHCP client. Ensure that it can reach a valid DHCP server.
Once the CIMC management port gets an IP address, connect to that IP address from an IP address that’s in the same IP subnet address using HTTPS. The GUI that opens is called Cisco IMC GUI.
Configure the intended IP address it should have. The intended IP address is usually taken from the OoB management subnet address.
The CIMC management port runs by default a DHCP client. Ensure that it can reach a valid DHCP server.
Once the CIMC management port gets an IP address, connect to that IP address from an IP address that’s in the same IP subnet address using HTTPS. The GUI that opens is called Cisco IMC GUI.
Configure the intended IP address it should have. The intended IP address is usually taken from the OoB management subnet address.
Note: A common practice is to design the OoB IP address of the APIC and the IP address of the CIMC management port are assigned in the same OoB management subnet address.
Accessing CIMC After the First Time#
vKVM#
It is possible to remotely emulate KVM connectivity after connecting to the CIMC webUI as if you were physically sitting in front of the APIC server (see KVM Console - YouTube). From the CIMC web page, you click on “launch vKVM”.
If the vKVM is not reachable, make sure the firewall rule to the CIMC IP using HTTPS on port 2068 is open, because that’s the port you’re redirected to after you click on “launch vKVM”.
vKVM is used:
- to finish the initial CIMC configuration: NIC mode, DHCP, DNS, etc,
- to see what’s happening in the CIMC console without being physically in front of the server.
Cisco IMC CLI#
You can use SSH or Telnet to log into the Cisco IMC CLI and perform configuration and show actions.
Note: Cisco IMC CLI != CIMC Configuration Utility != Host serial mode.
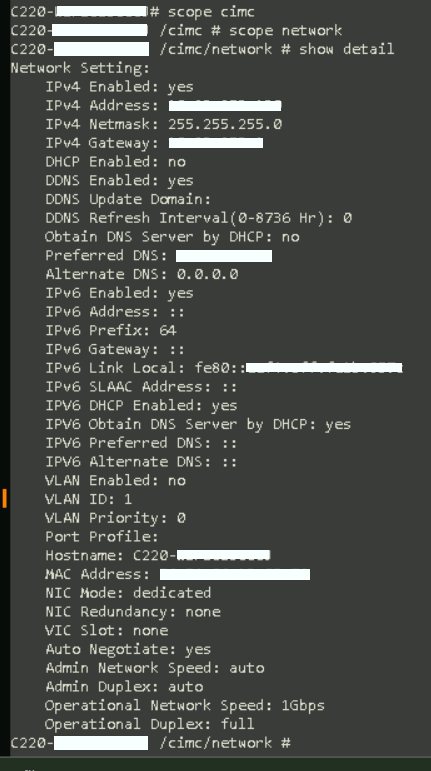
Possible Network Settings to Configure With CIMC CLI#
Smart Access Serial#
Check connected ports on a VIC#
Go to CIMC -> Networking > Adapter Card 1 > External Ethernet Interfaces. Example of an incorrectly cabled APIC. Normally one port of each pair should be cabled. But here, two ports of the same pair are cabled:

Misc.#
Check the timezone displayed in CIMC main page.
DIMM Error in CIMC page#
Open the cover of the physical server and make sure the DIMM module is tightly seated.
CIMC Upgrade#
Where To Find It#
1- cisco.com/go/support 2- search for APIC 3- In the main support page of ACI, choose “CIMC Upgrade” under Choose a Topic.
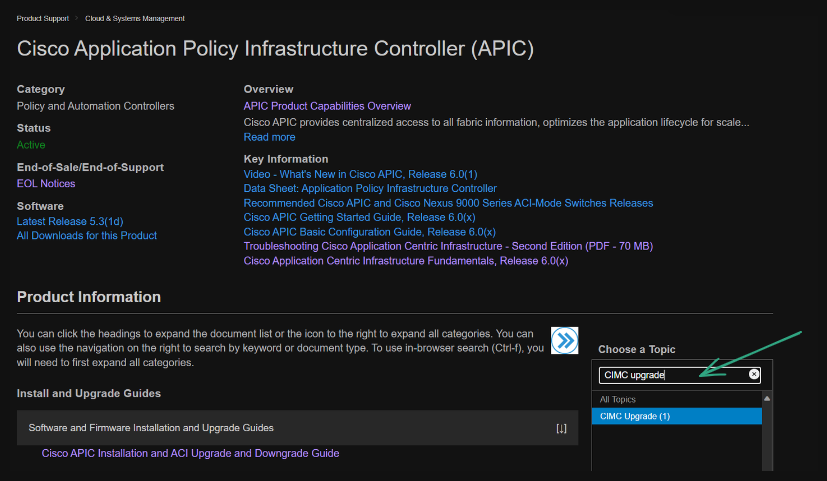
Beware of the default credentials mentioned by Cisco; They may not be correct. Sometimes it’s “admin/Cisco123” and sometimes it’s “admin/Insieme123”.
CIMC Offline Checks#
- Do you have the access credentials to each CIMC instance?
- What is the currently deployed CIMC version?
- What is the Cisco-recommended CIMC version for the ACI release and ACI hardware of your customer?
CIMC Upgrade Path#
Check the release Notes for Cisco UCS Rack Server Software that you want to upgrade to. Example: Release Notes for Cisco UCS Rack Server Software, Release 4.2(3) - Cisco
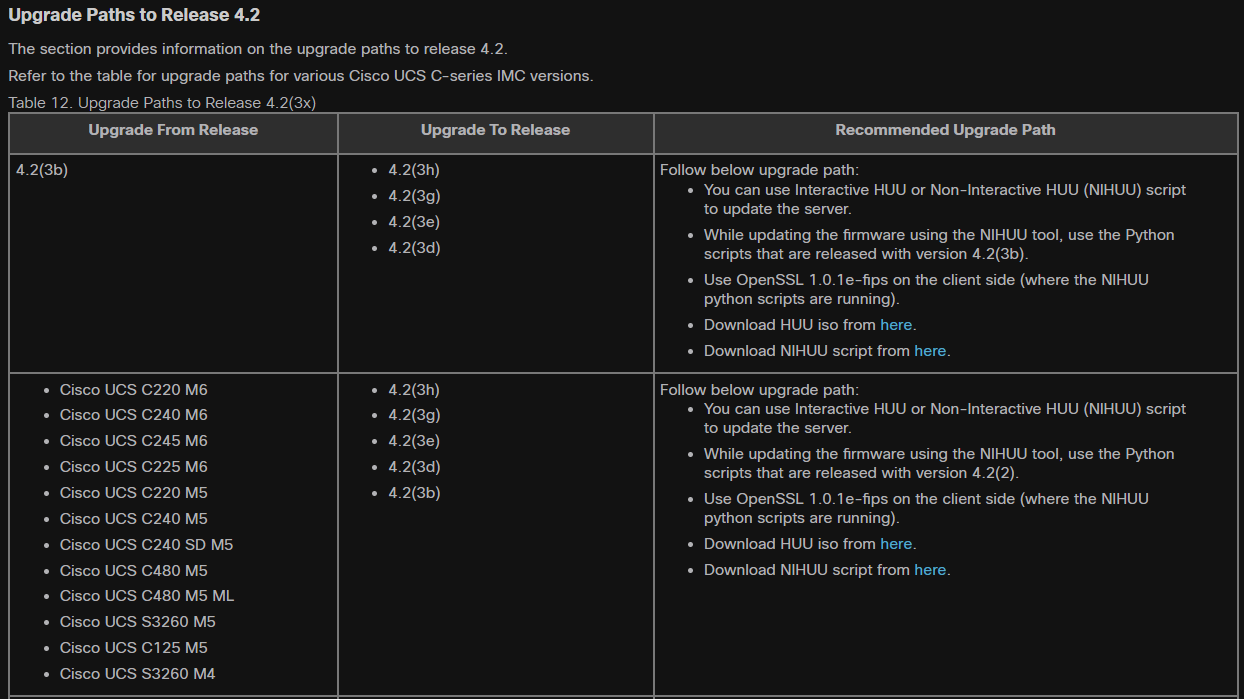
CIMC Software Location#
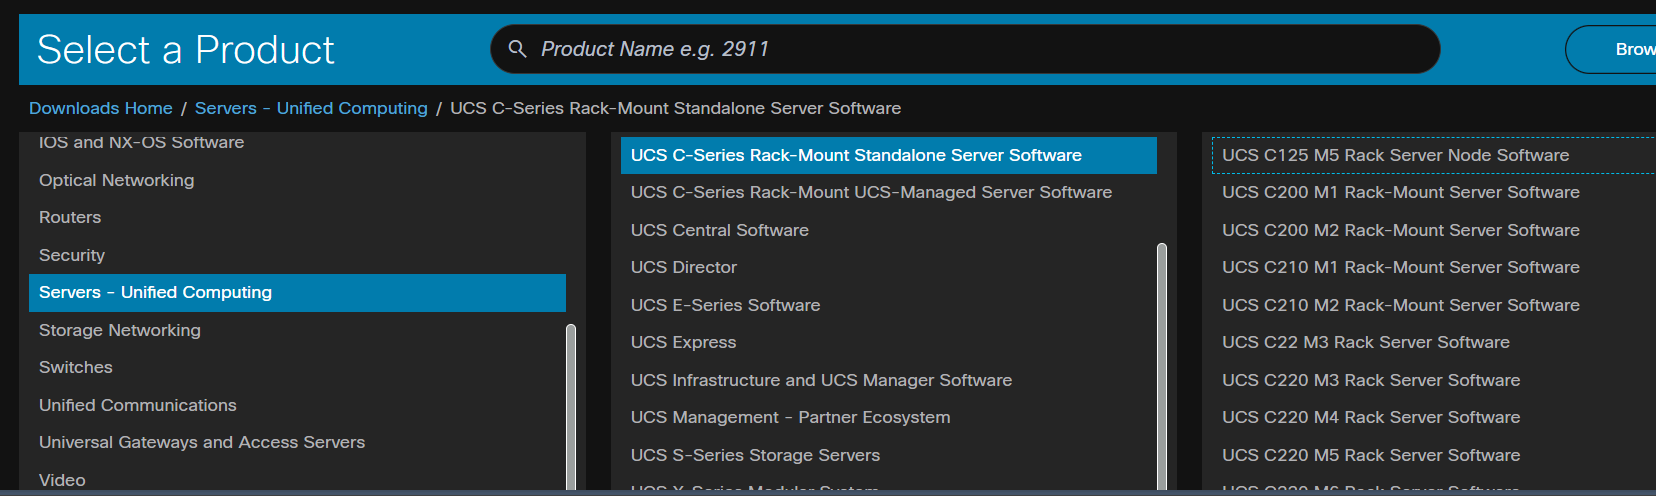
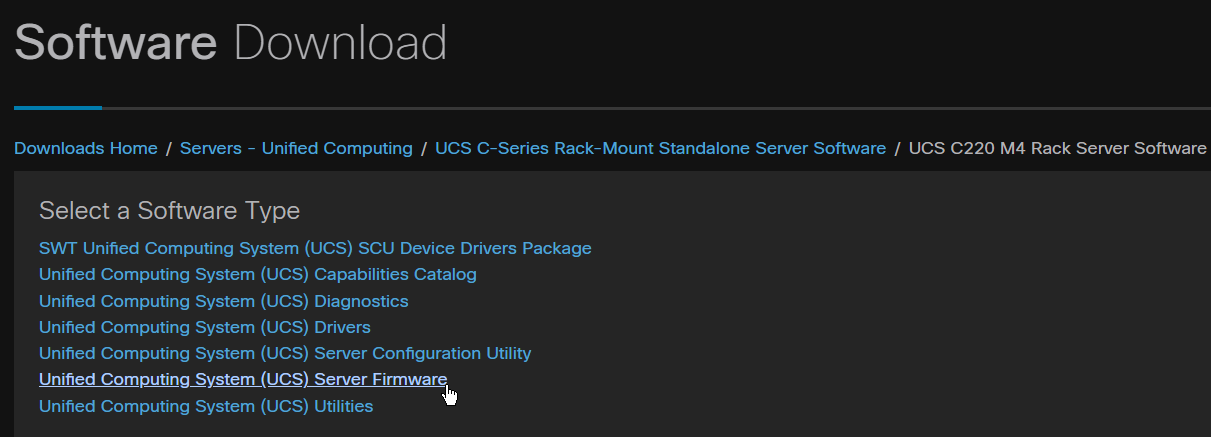
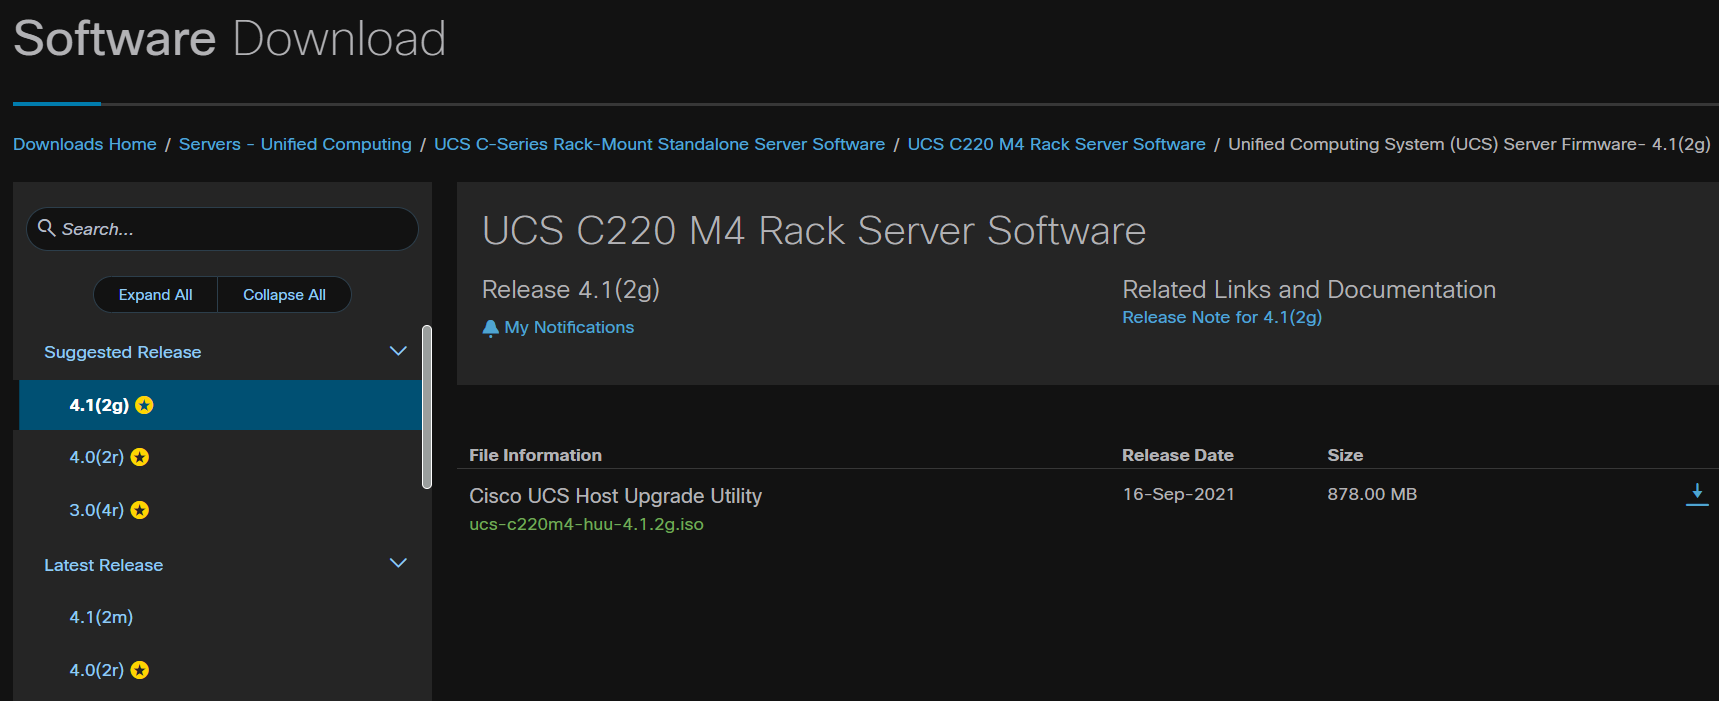
The location of the CIMC software for APIC on the Cisco website:
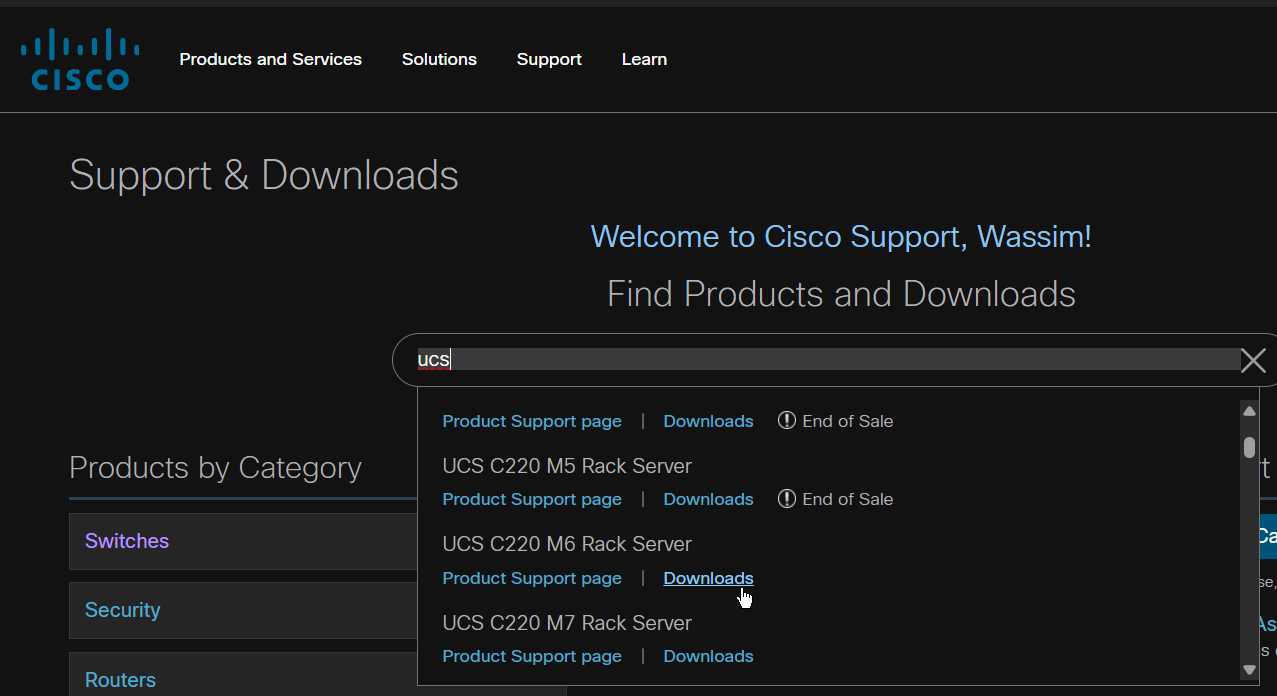
CIMC upgrade steps#
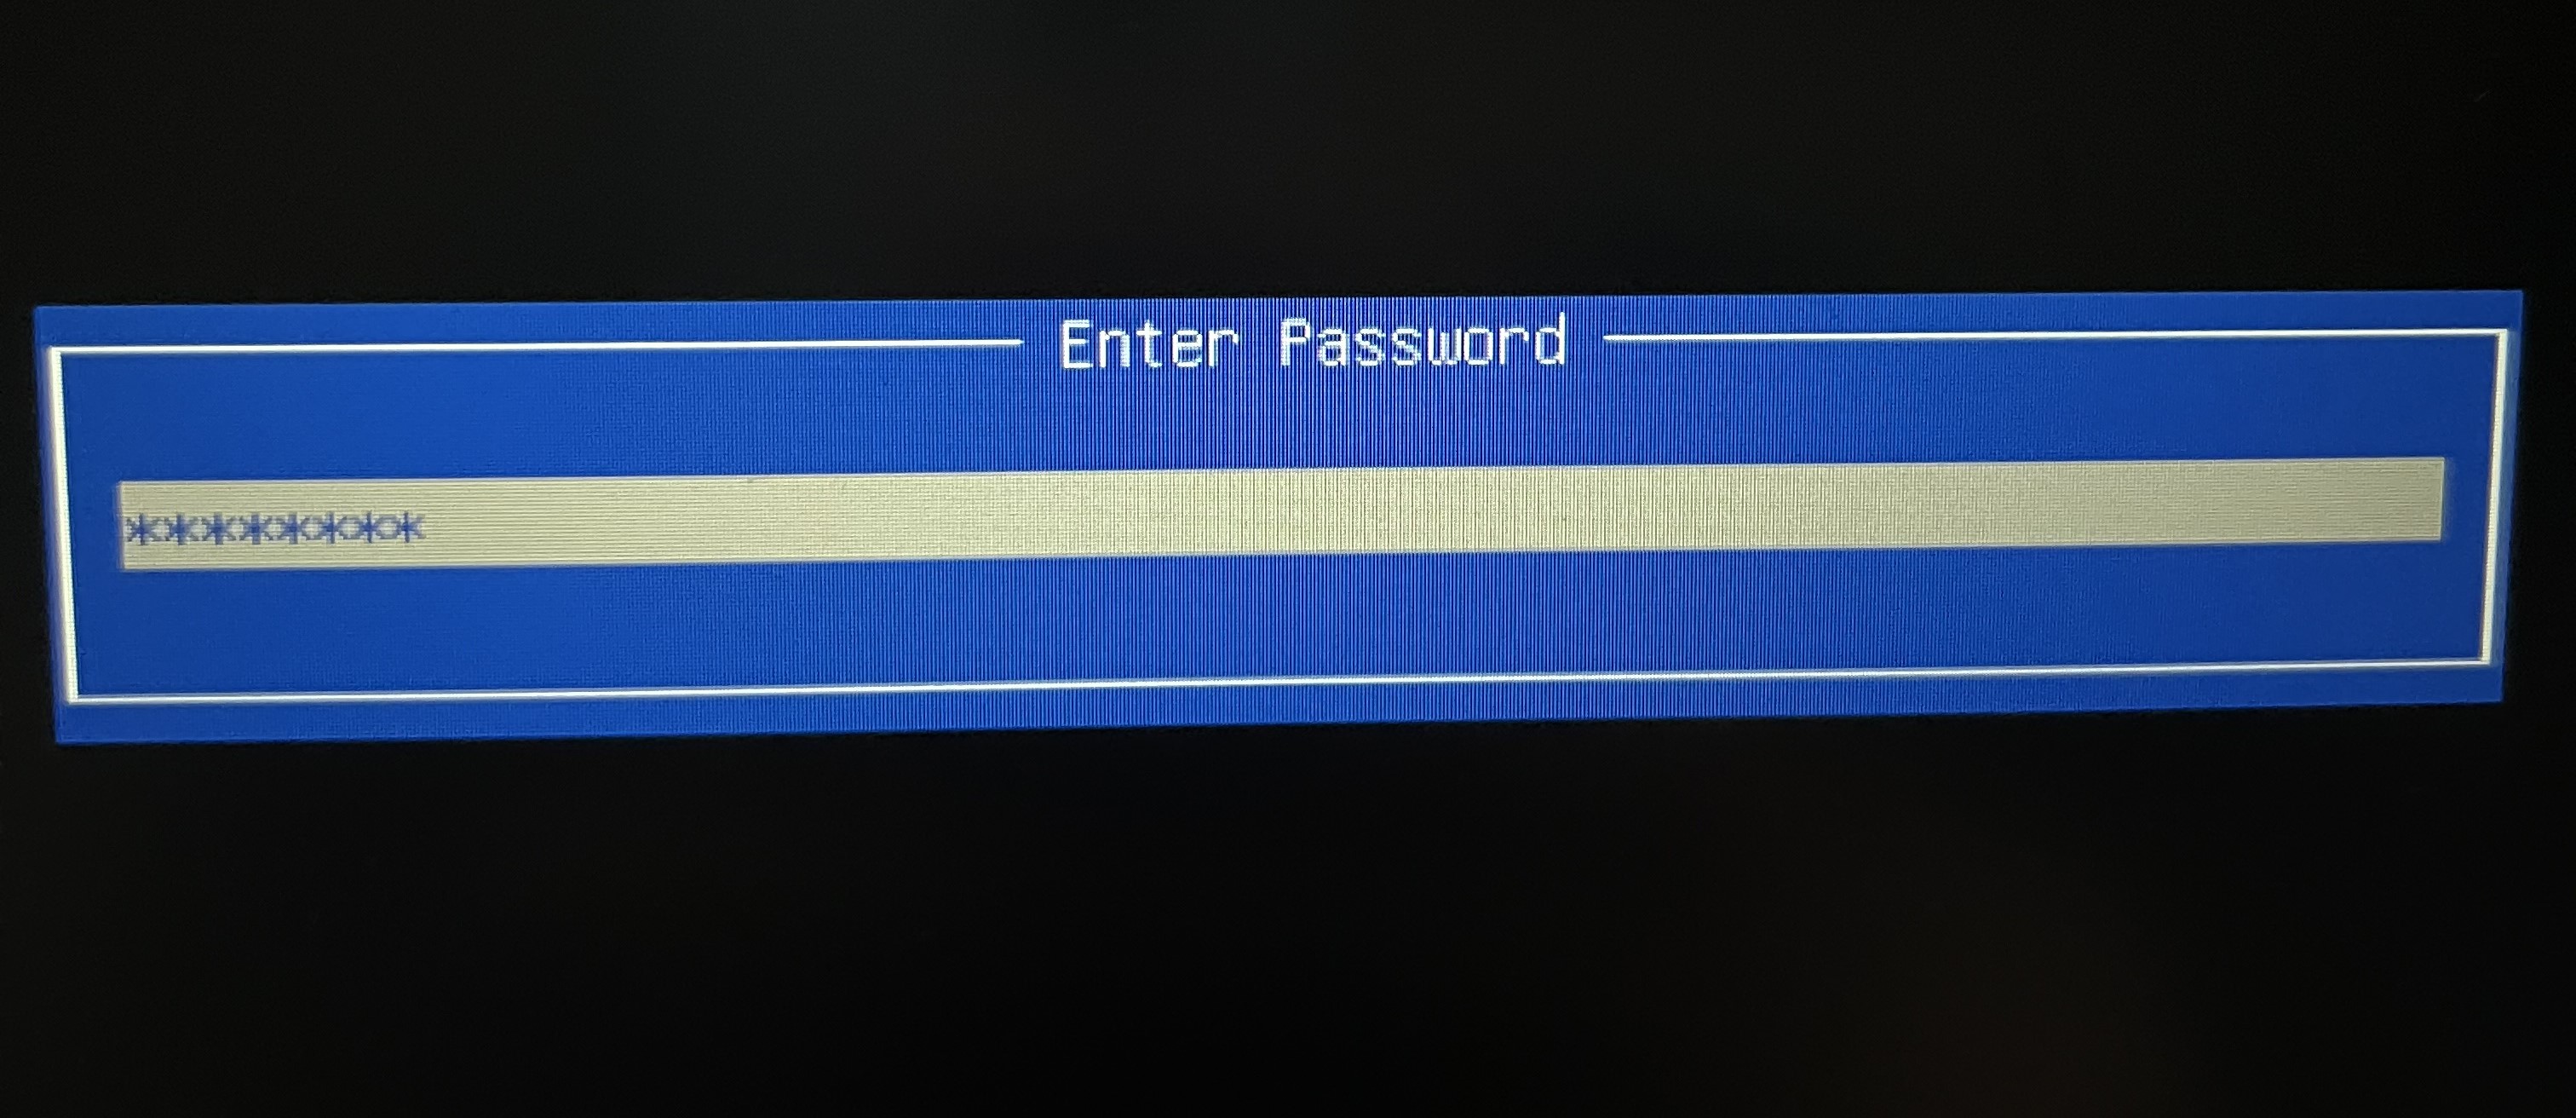
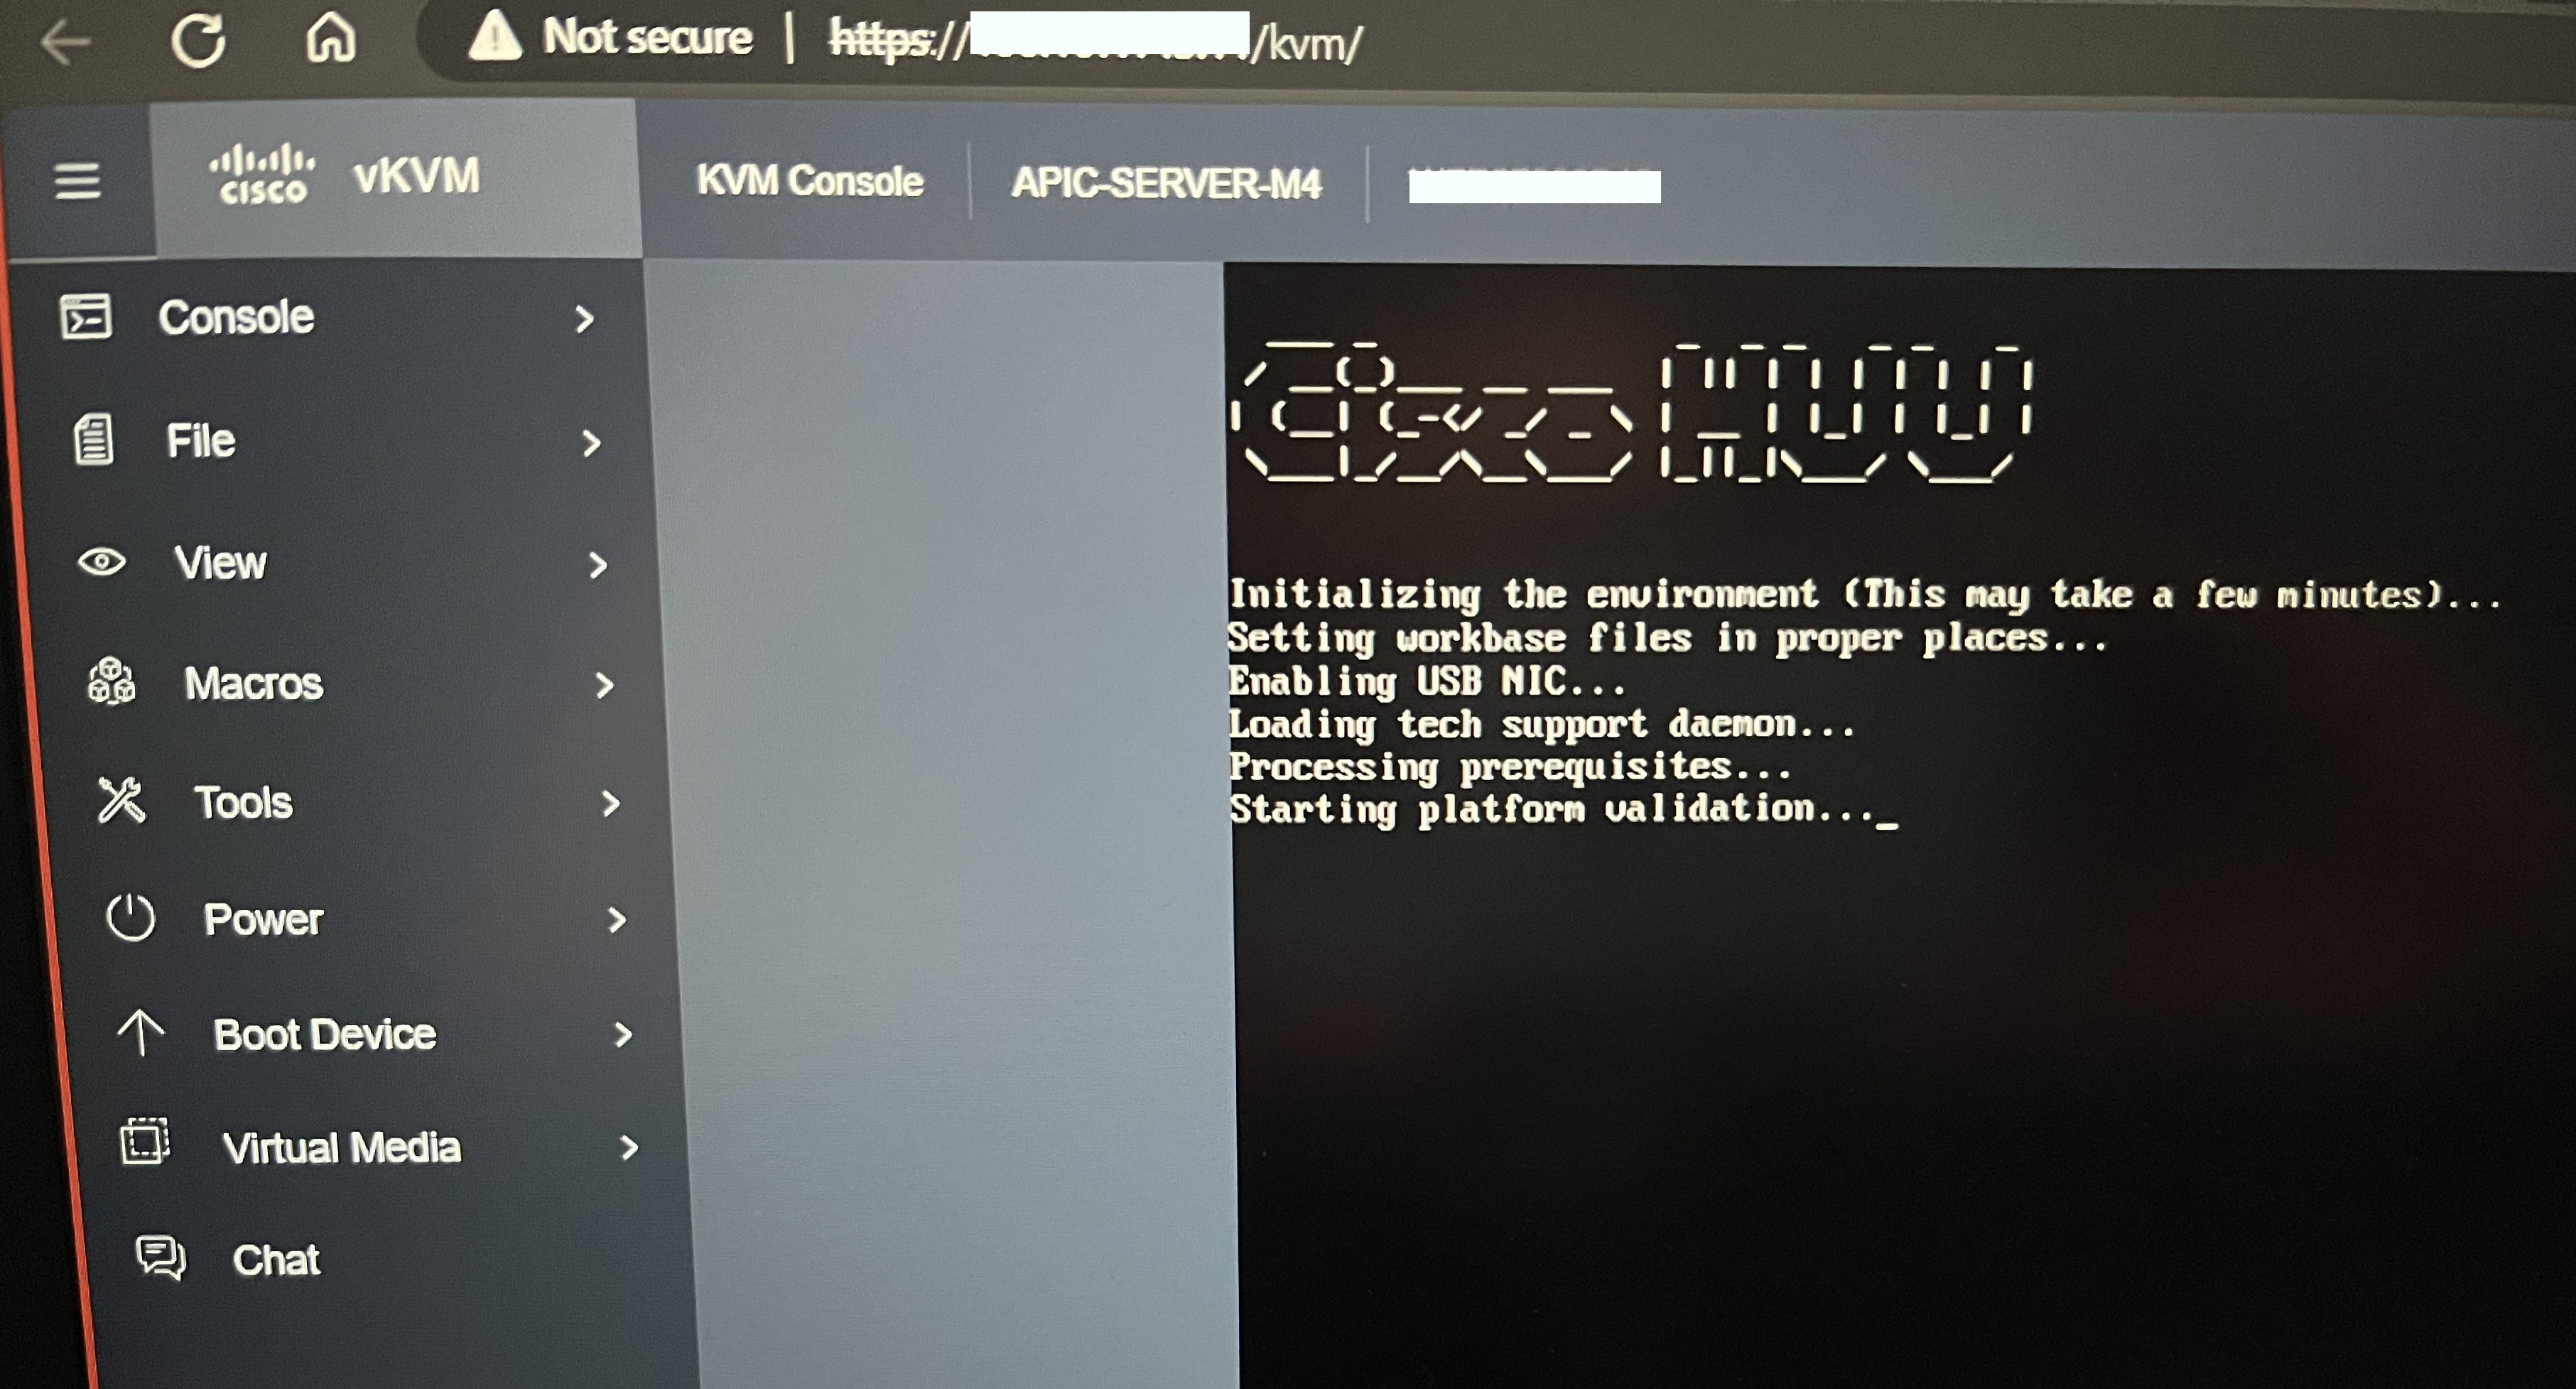
Download the HUU image from cisco.com log in to the CIMC GUI. Launch vKVM Virtual Media -> vKVM Mapped vDVD point to the location of the HUU image. reset the server using Power -> Reset System Enter CIMC boot menu by pressing F6
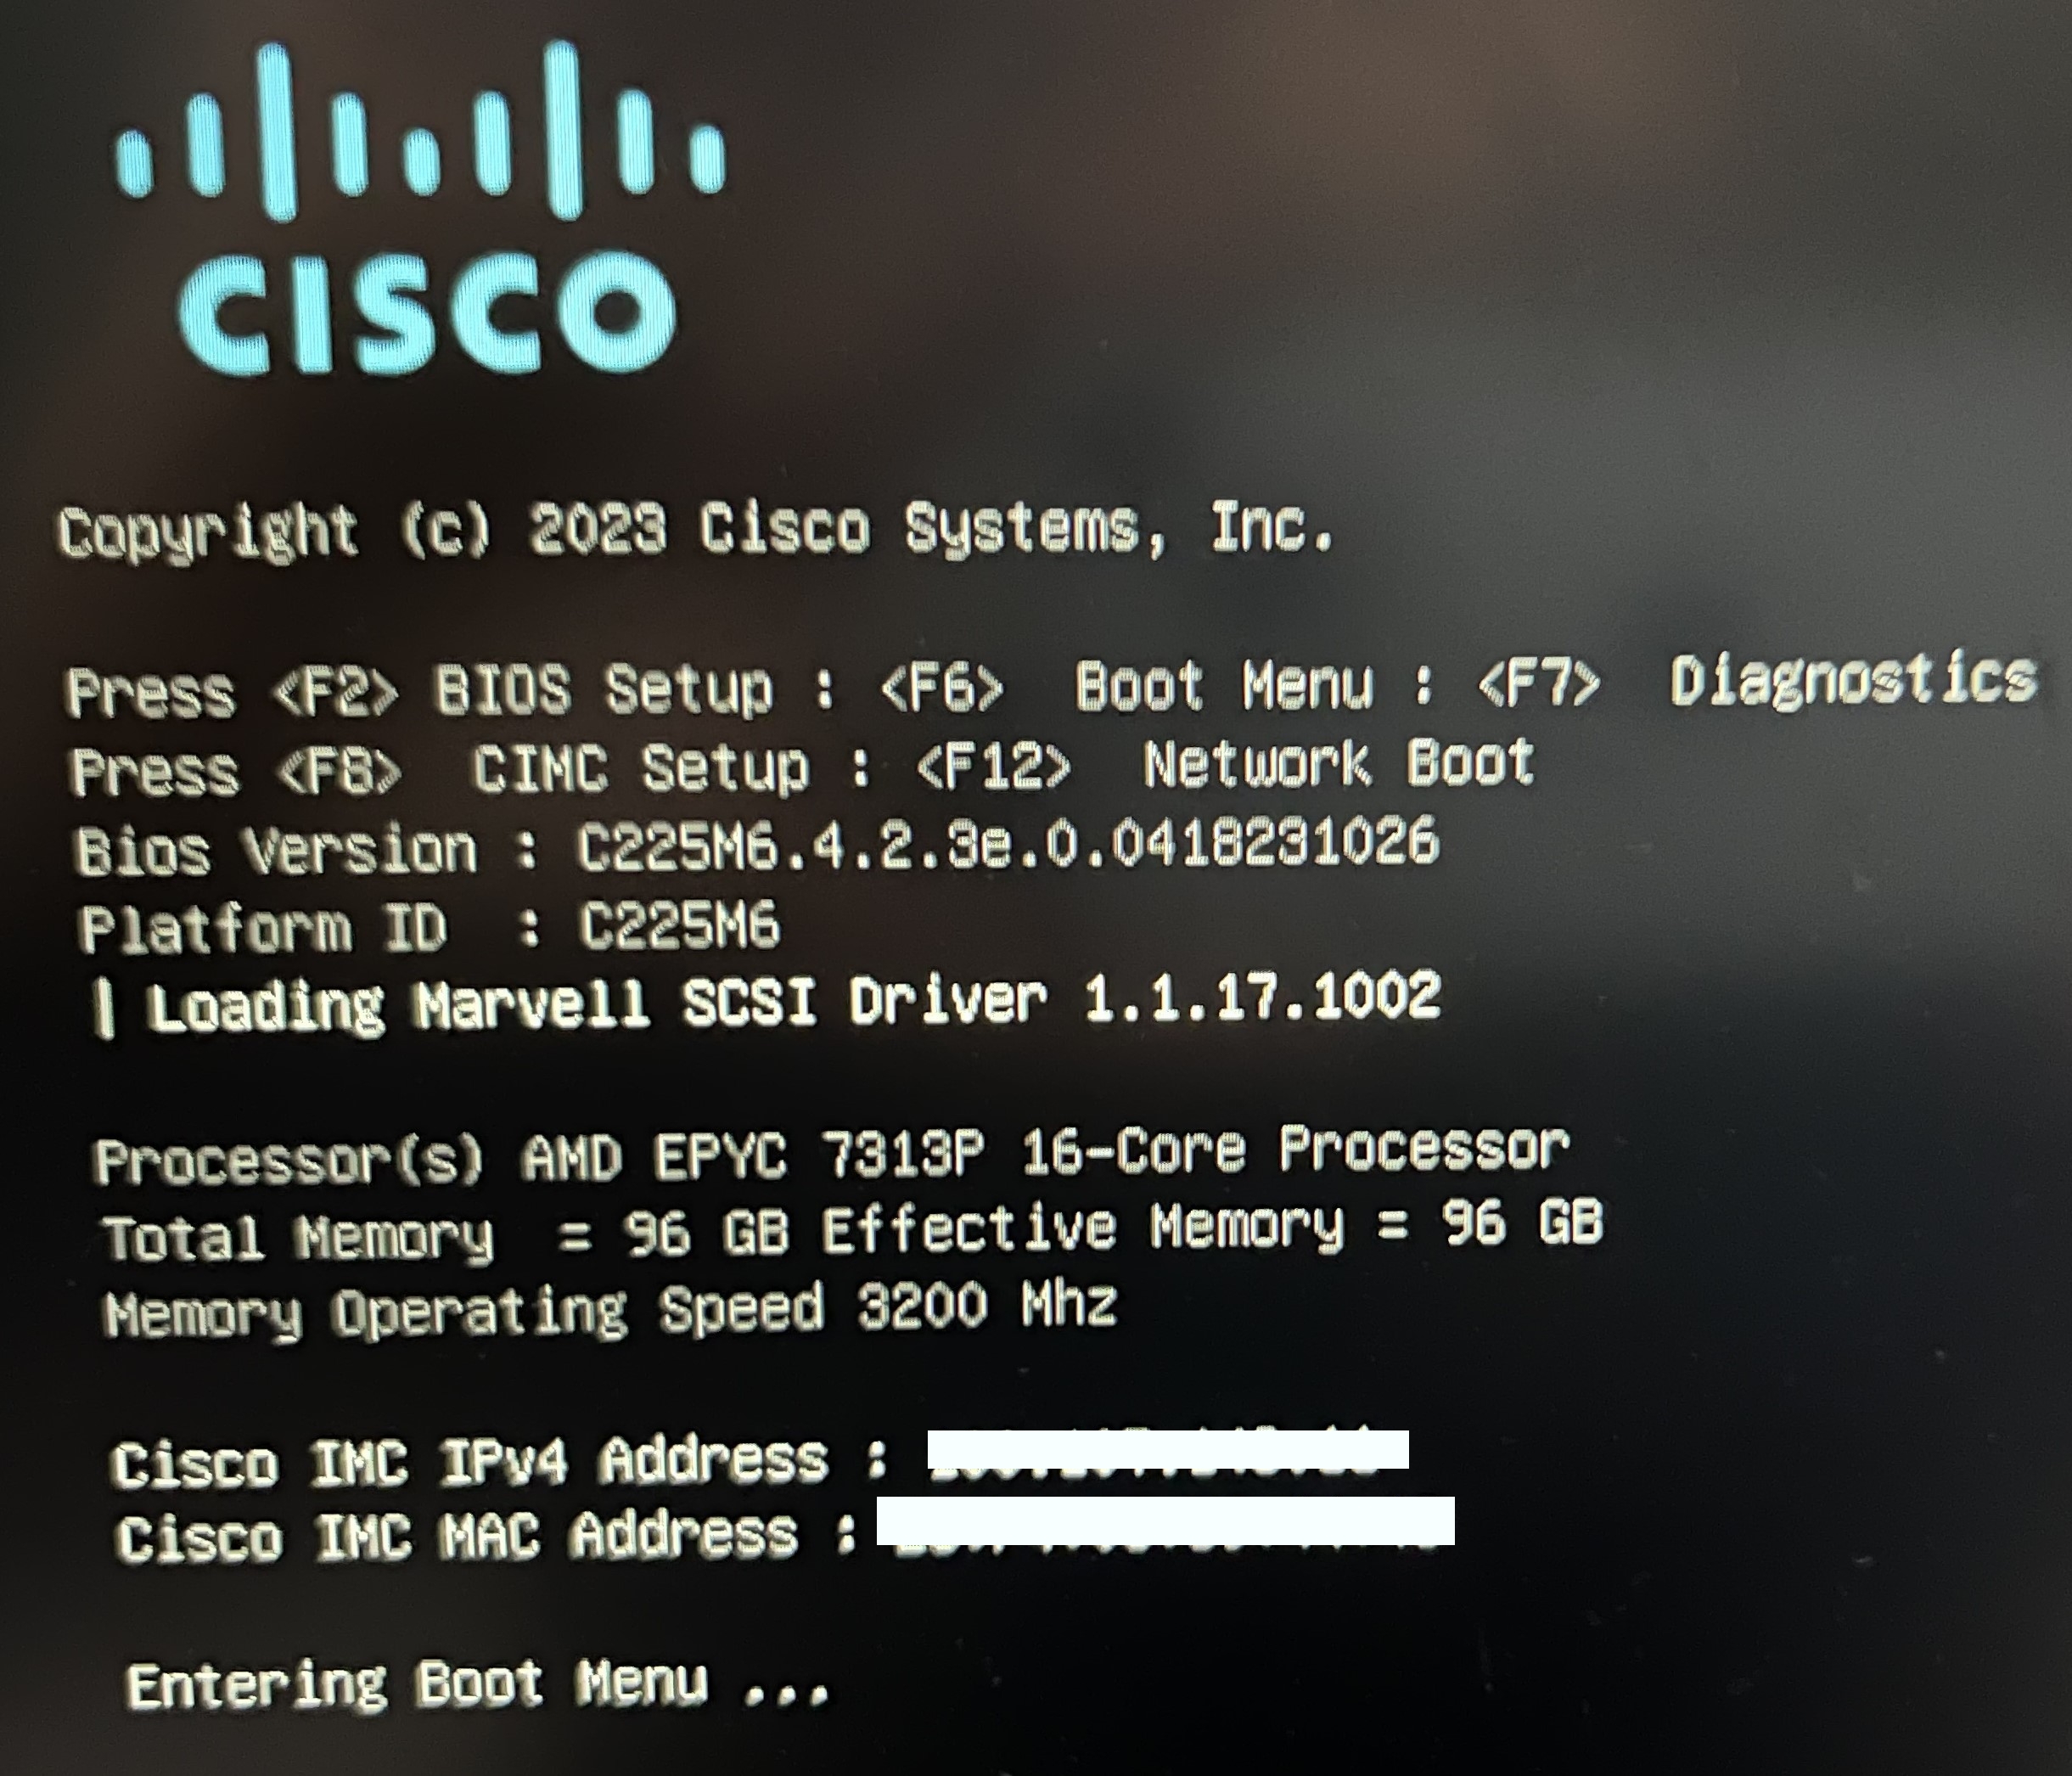
Type the default password of “password” to enter the boot menu:
With the up and down arrow, select the option Cisco vKVM mapped vDVD from the list of boot options.
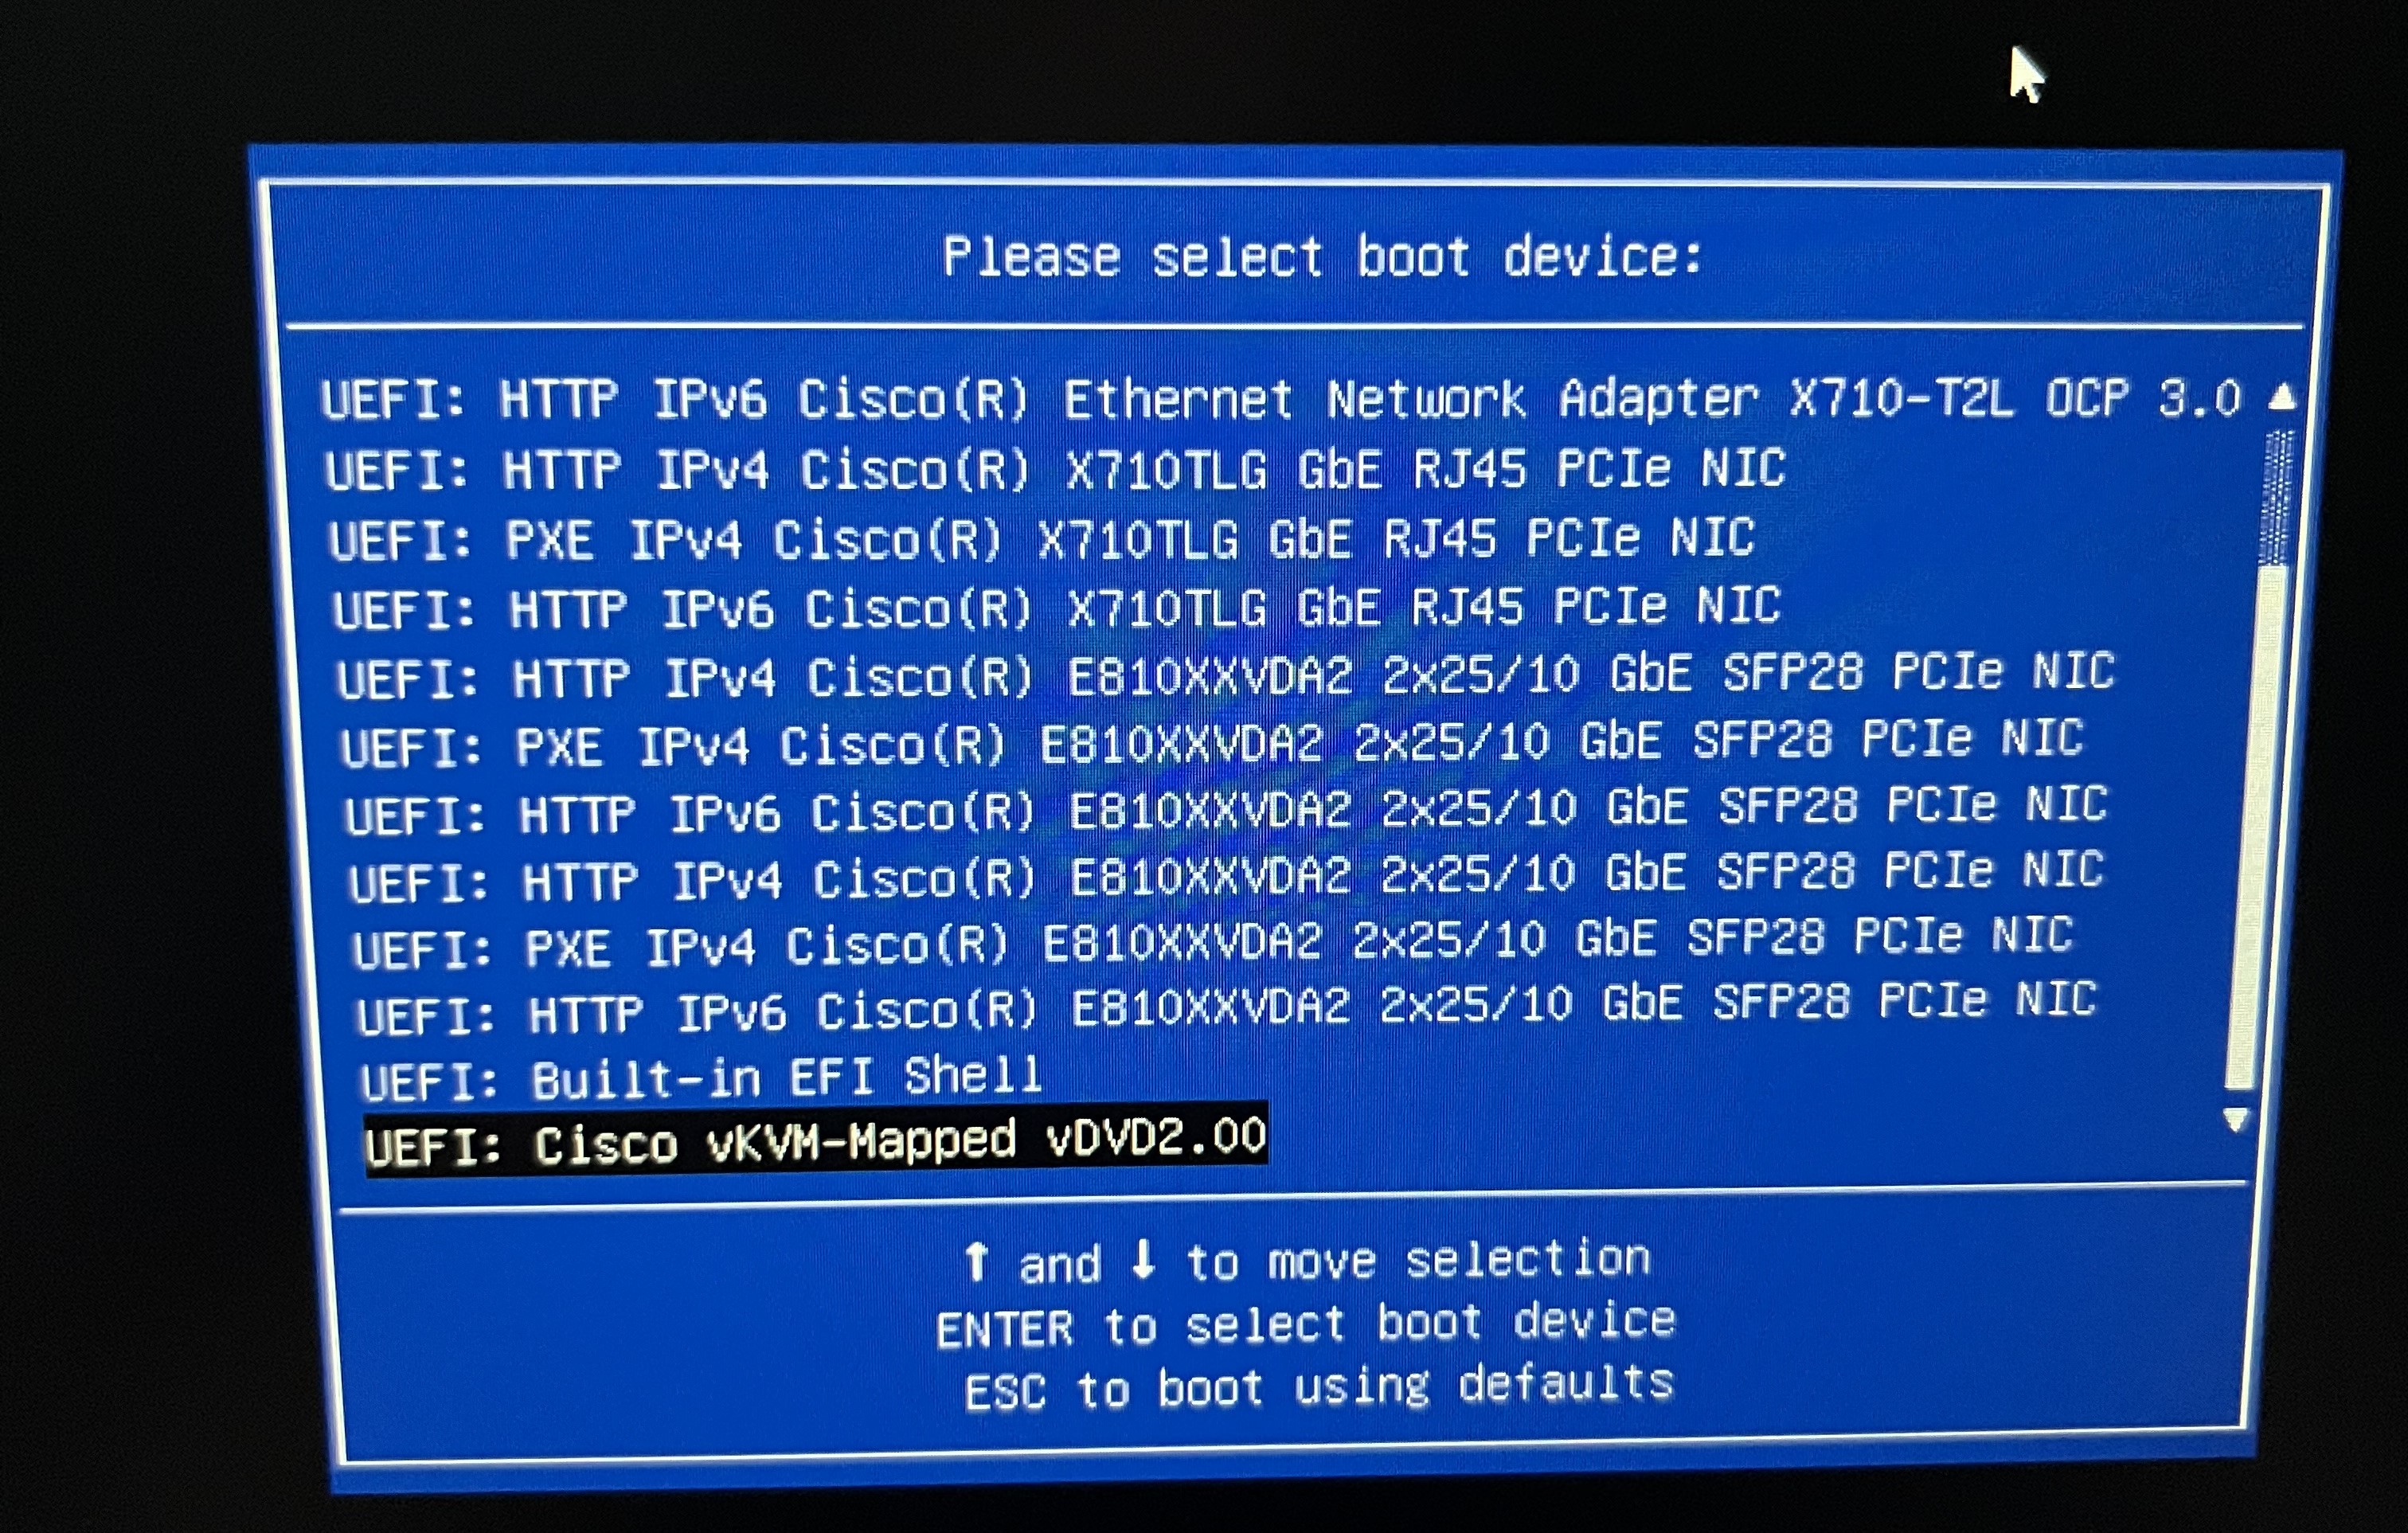
The system restarts.
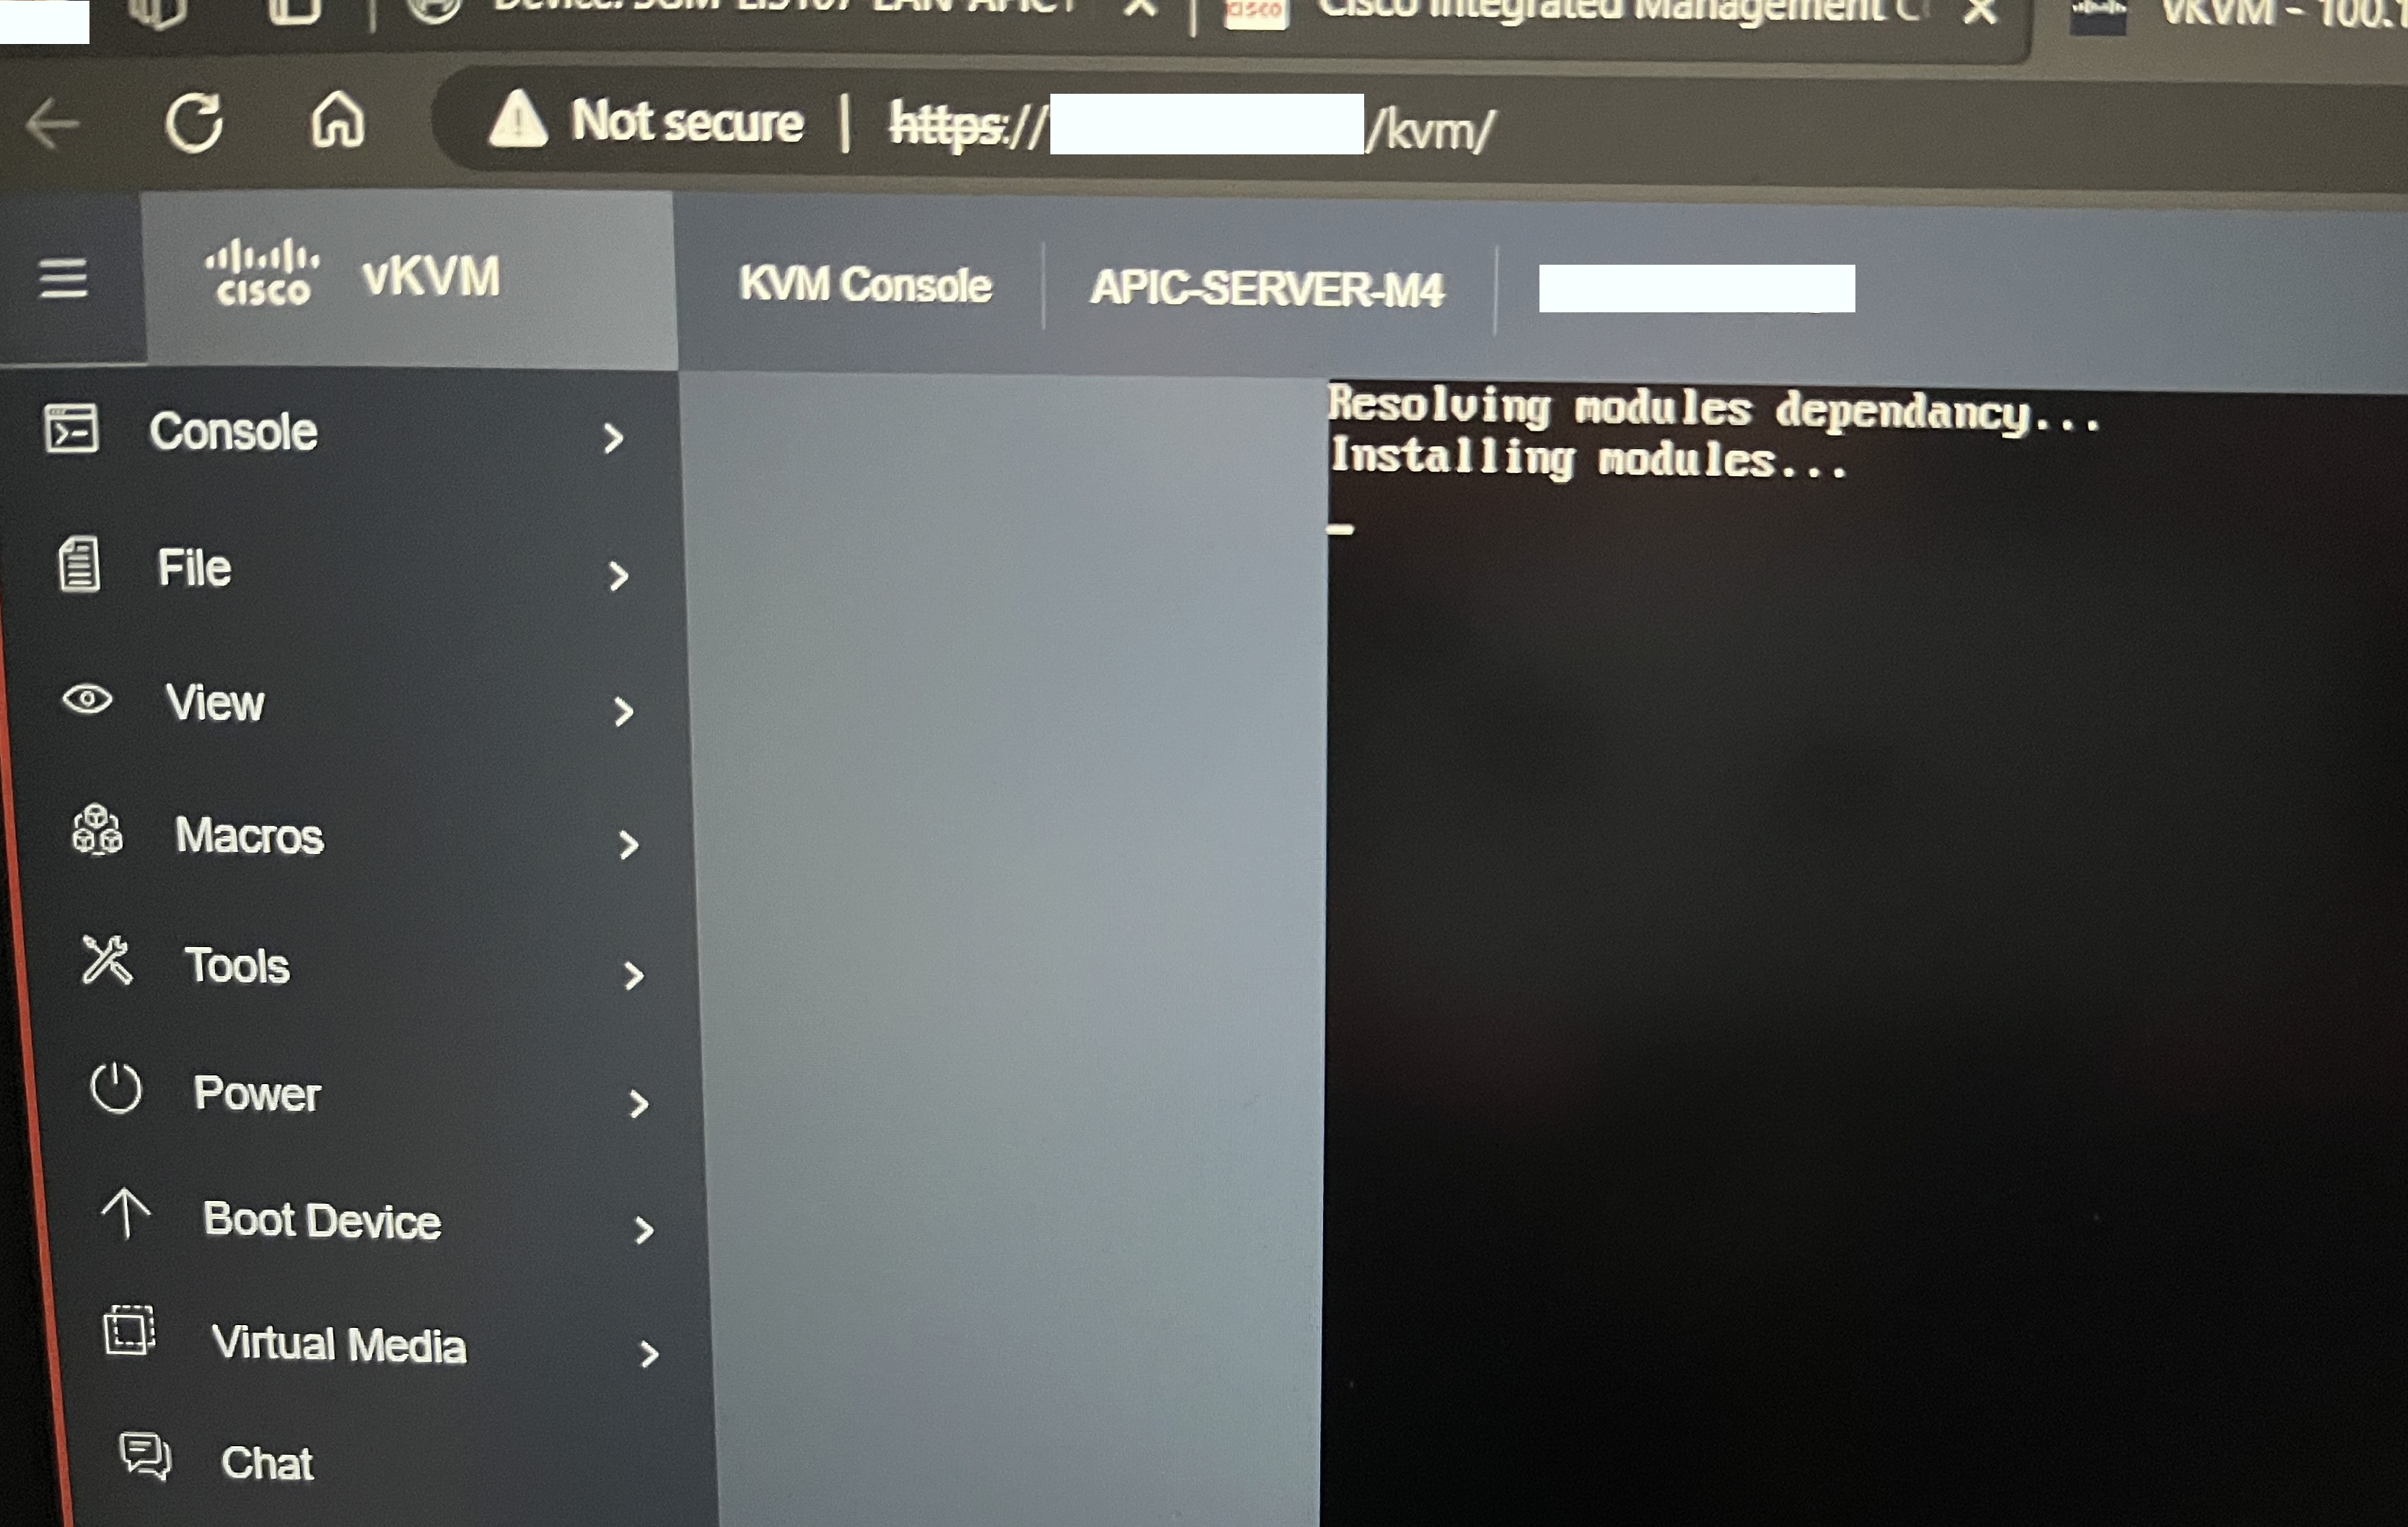
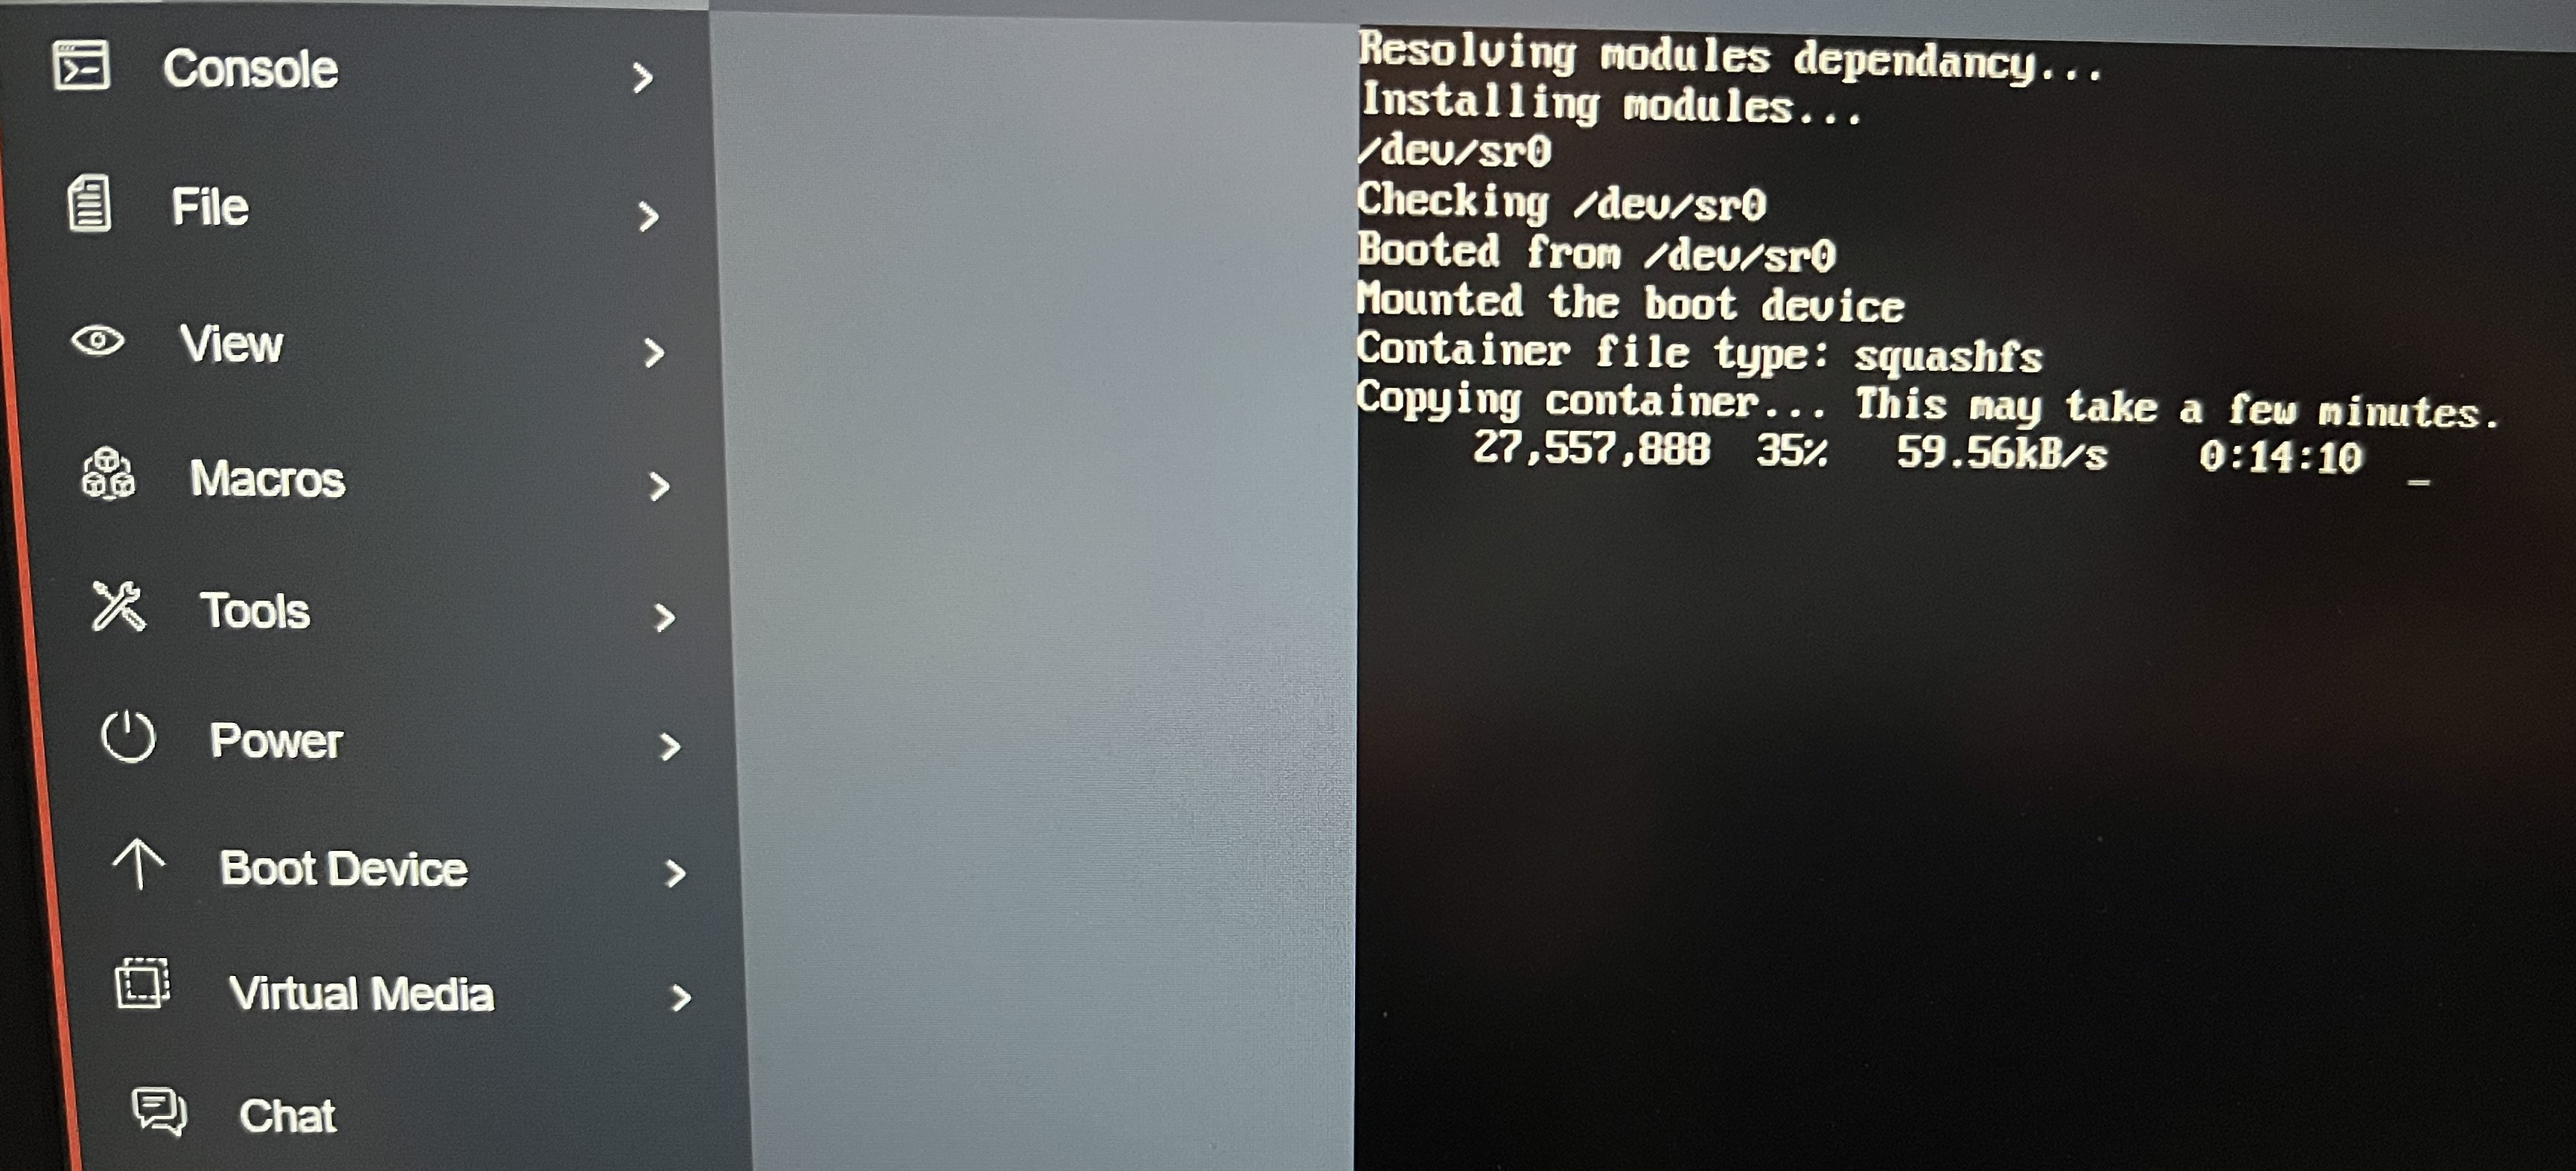
Note: At this point, sometimes the system does not detect the vKVM mapped vDVD and starts normally. We do not want that. We want the server to boot on the vKVM mapped vDVD to be able to upgrade CIMC. So, reset the system as many times as necessary until it boots up on the vKVM mapped vDVD.
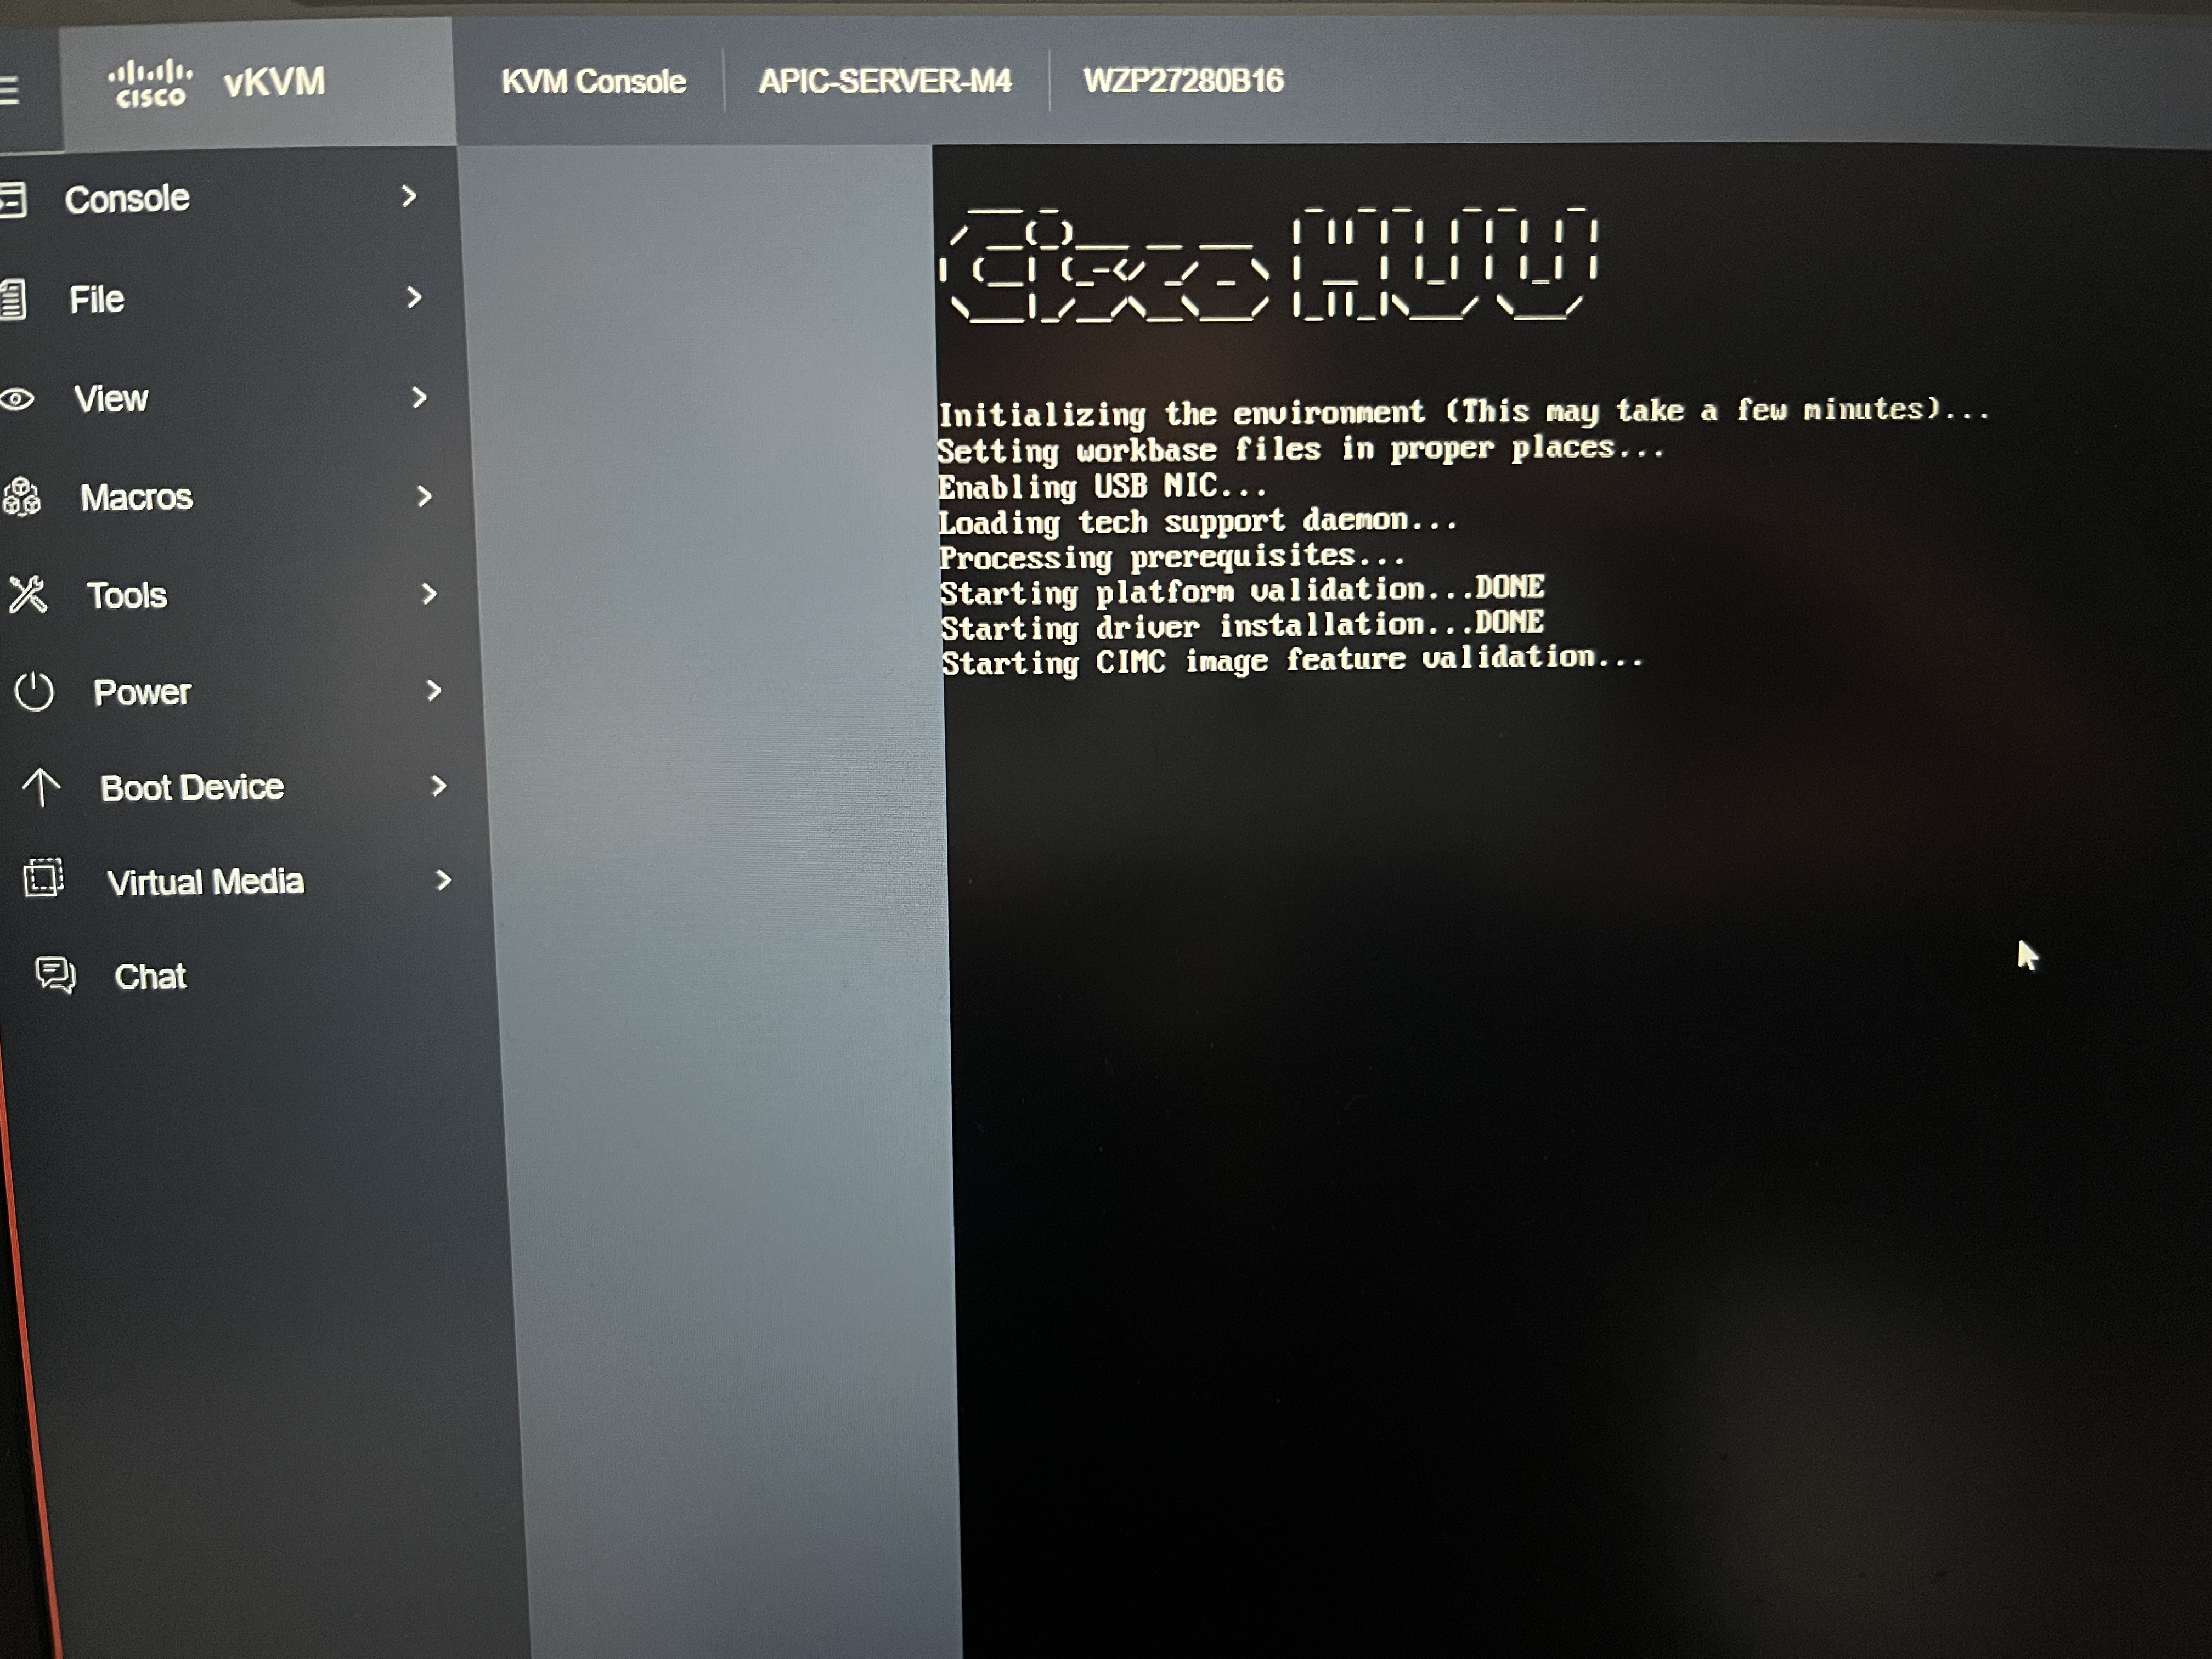
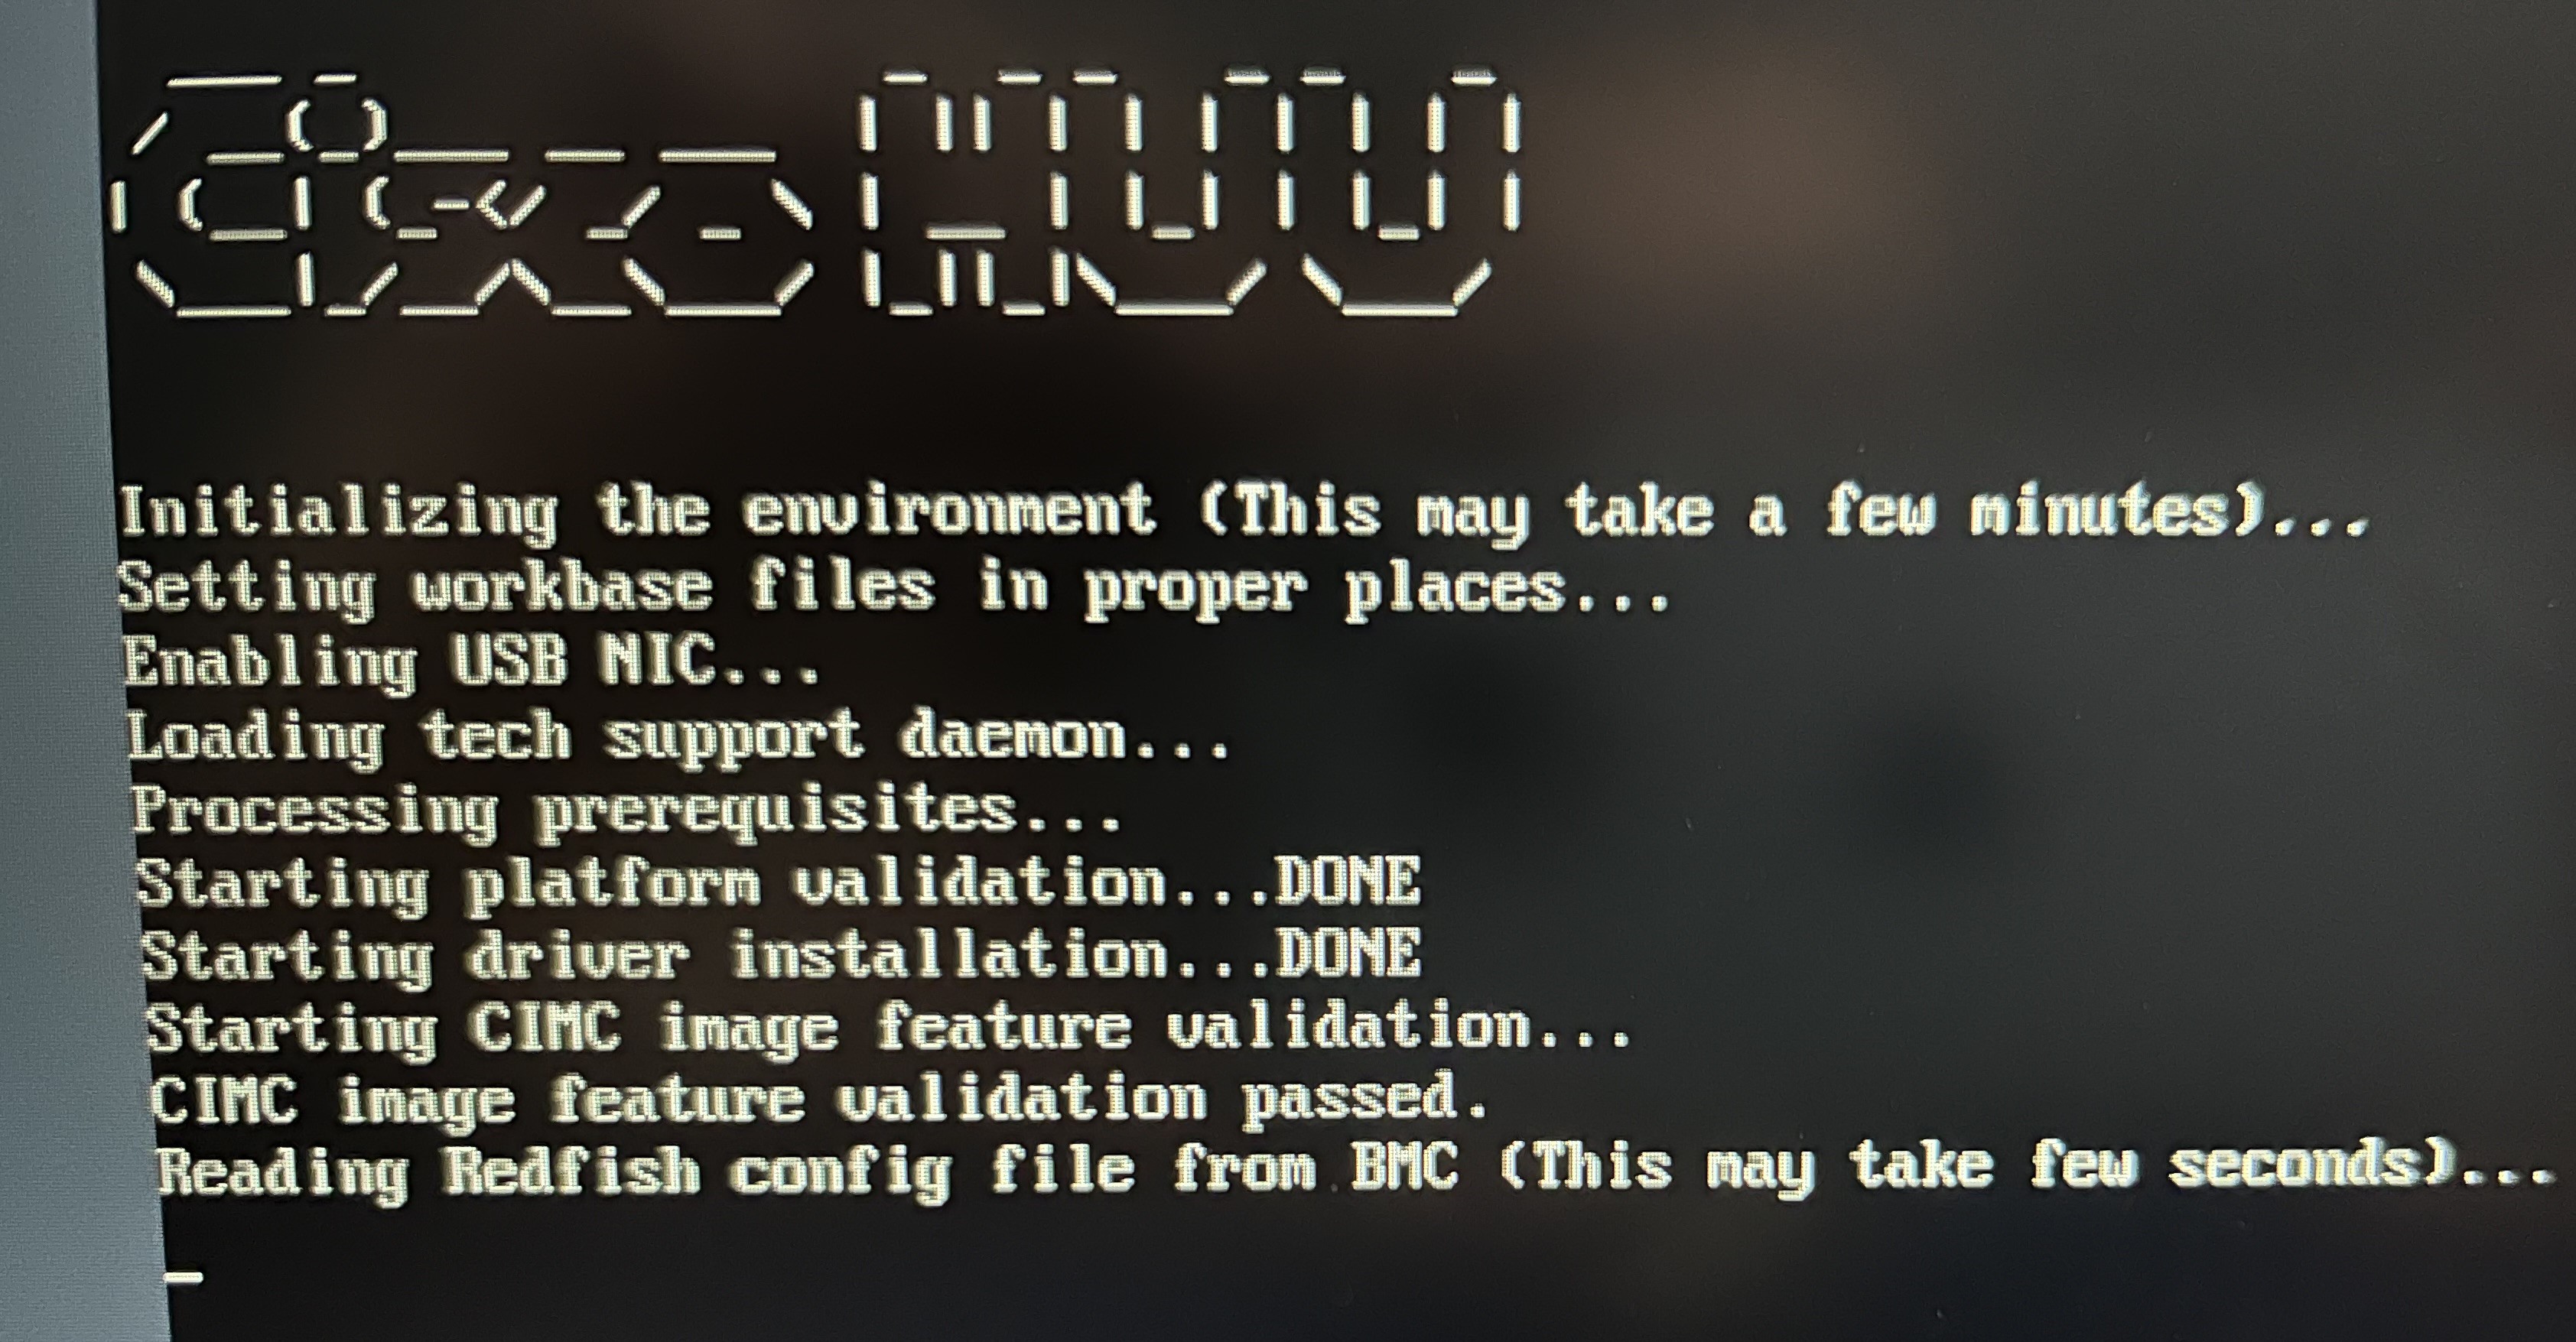
When you see the following message, then it means that it detected the boot media and the system is copying modules from the boot media:
CIMC Default Credentials for APIC#
The following credentials have been tested to work.
| APIC Model | CIMC Login | CIMC Password |
|---|---|---|
| APIC-M3/L3 | admin | password |
| APIC-M4/L4 | admin | Insieme123 |